
How to Create a Collection
A collection is a group of products with its own page on your shop — for example Summer Drop, Under ₹499, or Best Sellers. You decide what goes in it. Flip any picture below between Desktop and Mobile to see the same screen on a laptop and on a phone.
Open Products → Collections
Section titled “Open Products → Collections”In the left menu, open Products, then Collections.
Open it directly: Products → Collections
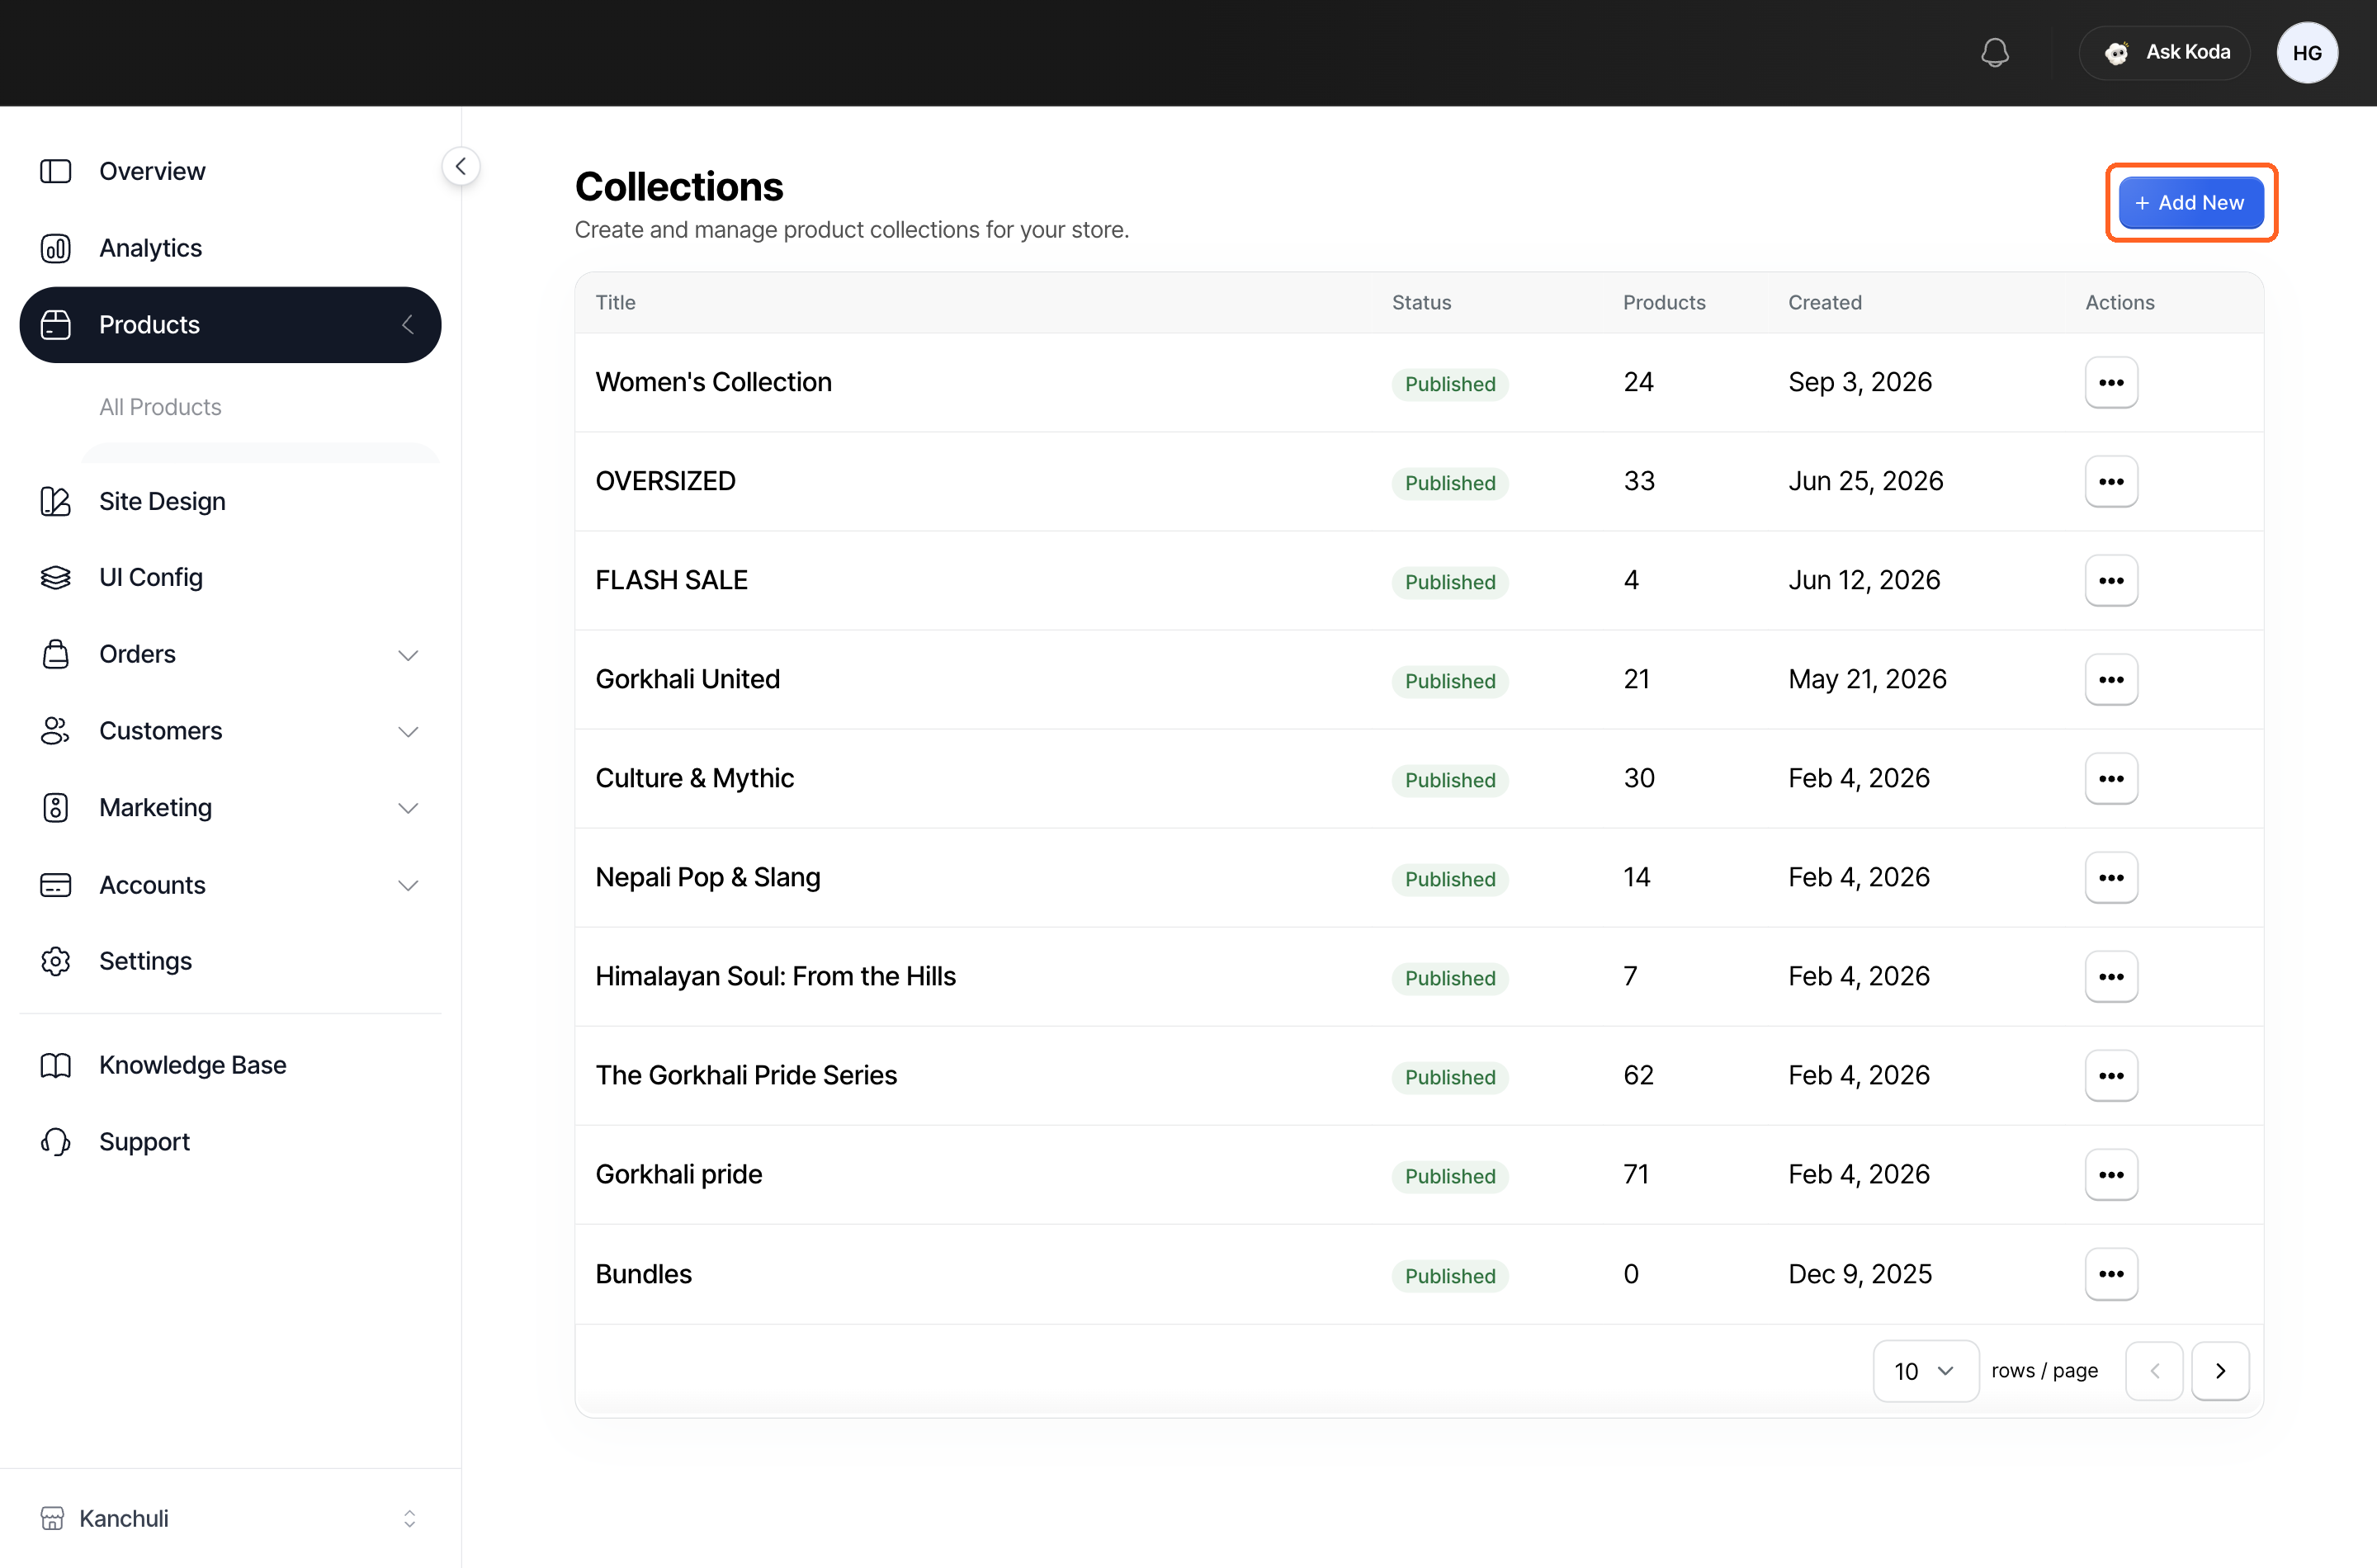
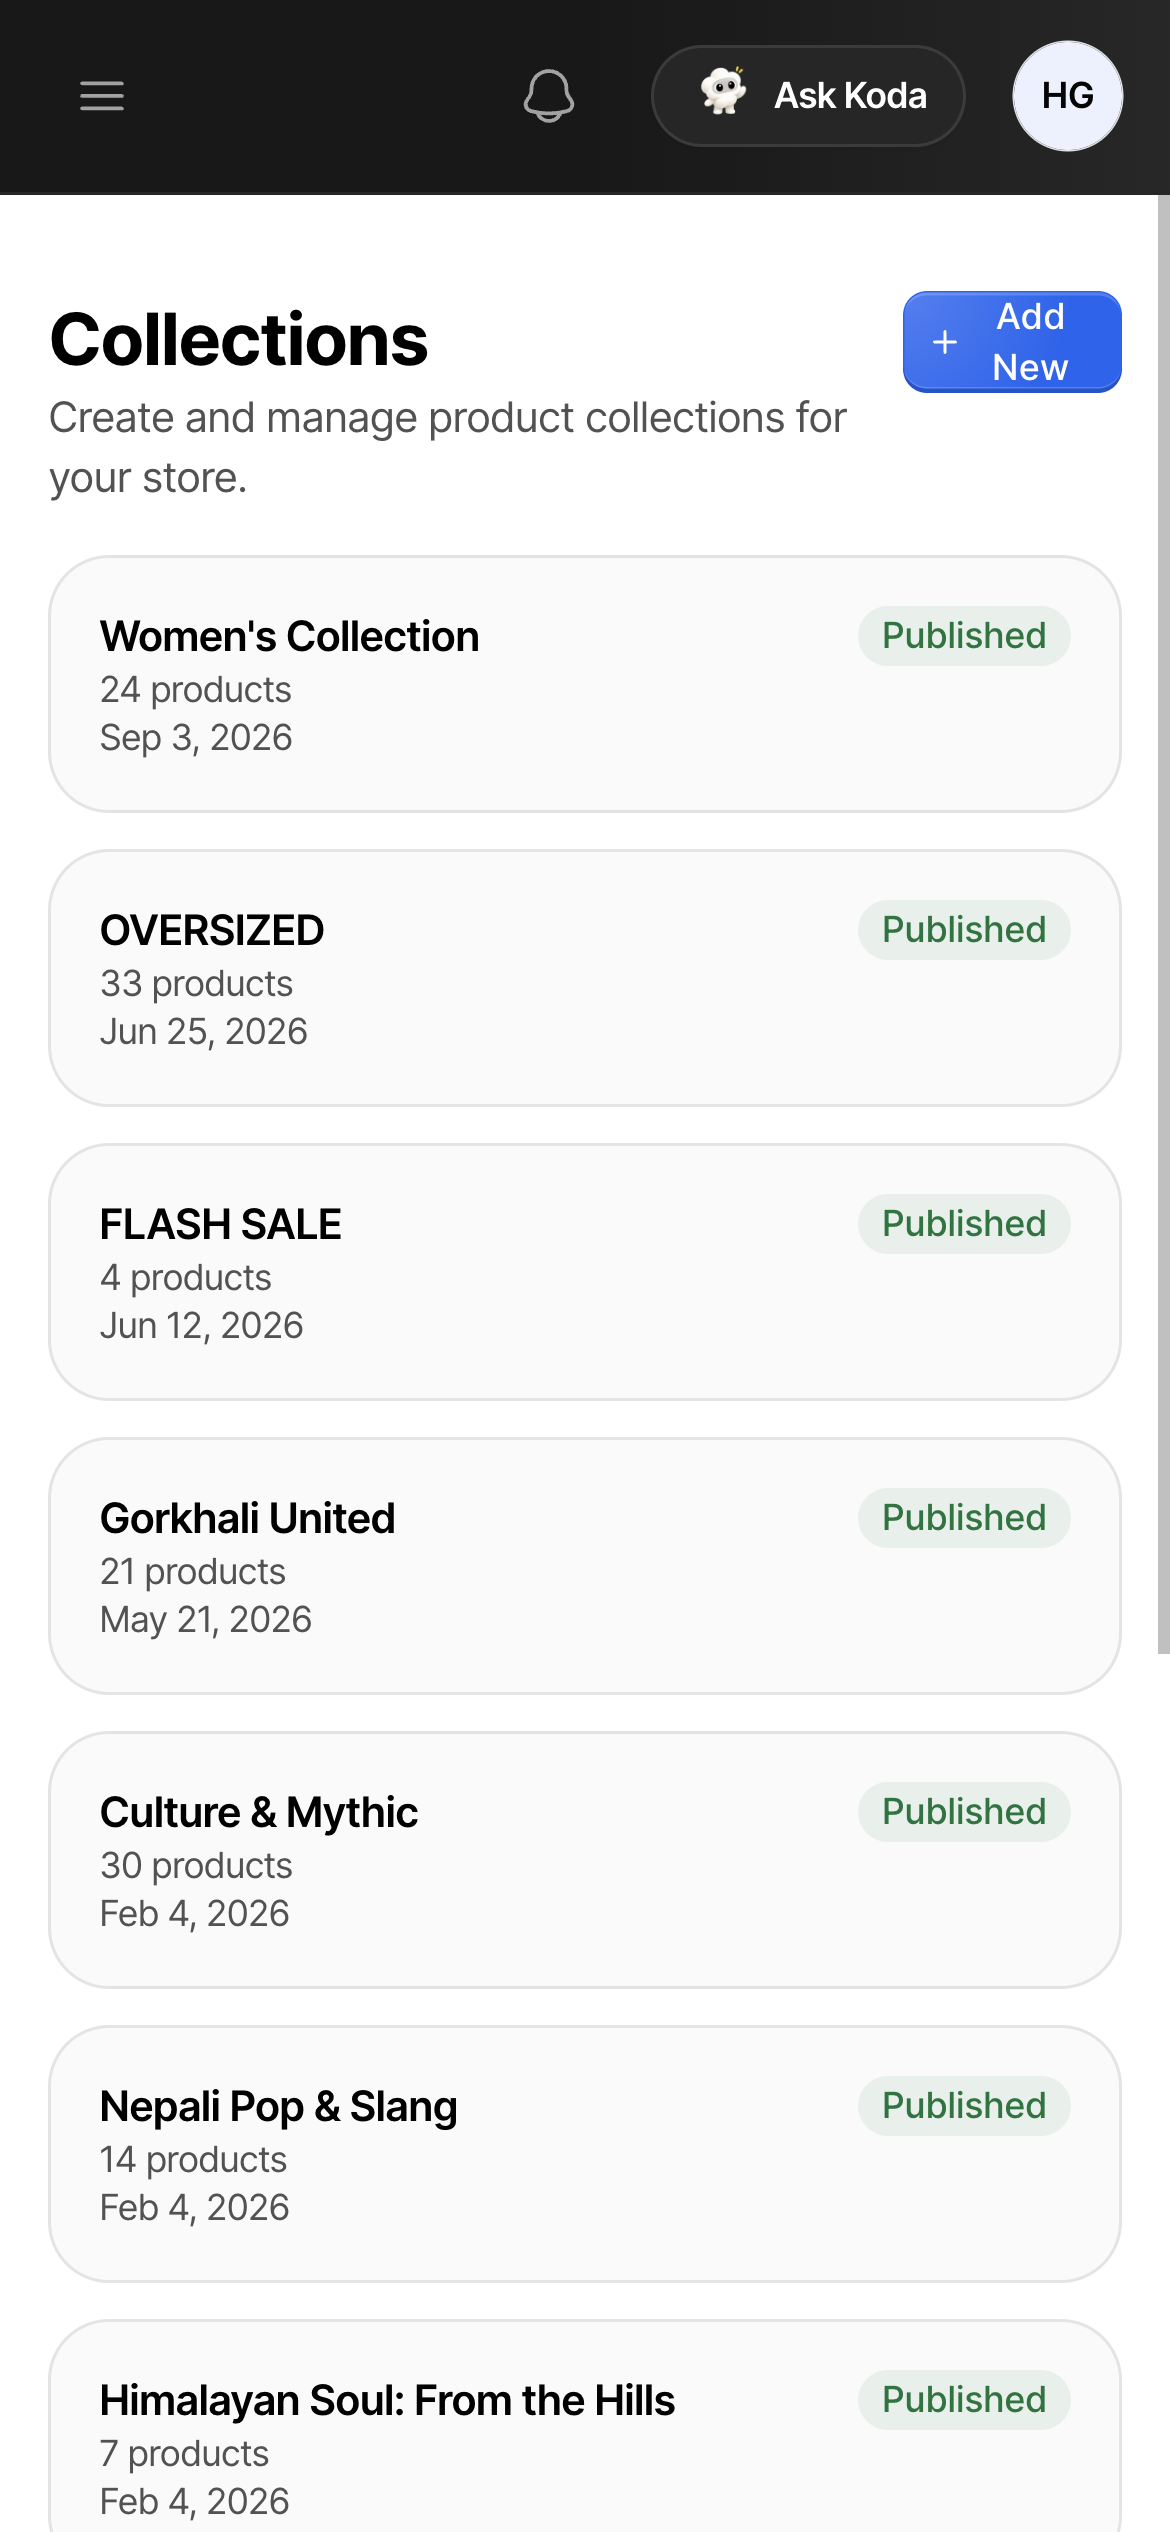
You will see a list of every collection you have made, with its Title, Status, how many Products are in it, and when it was Created.
Every collection you make here shows as Published — there is no draft and no publish button.
Click Add New.
Give it a title
Section titled “Give it a title”Type a name in the Title box, for example Summer Drop.
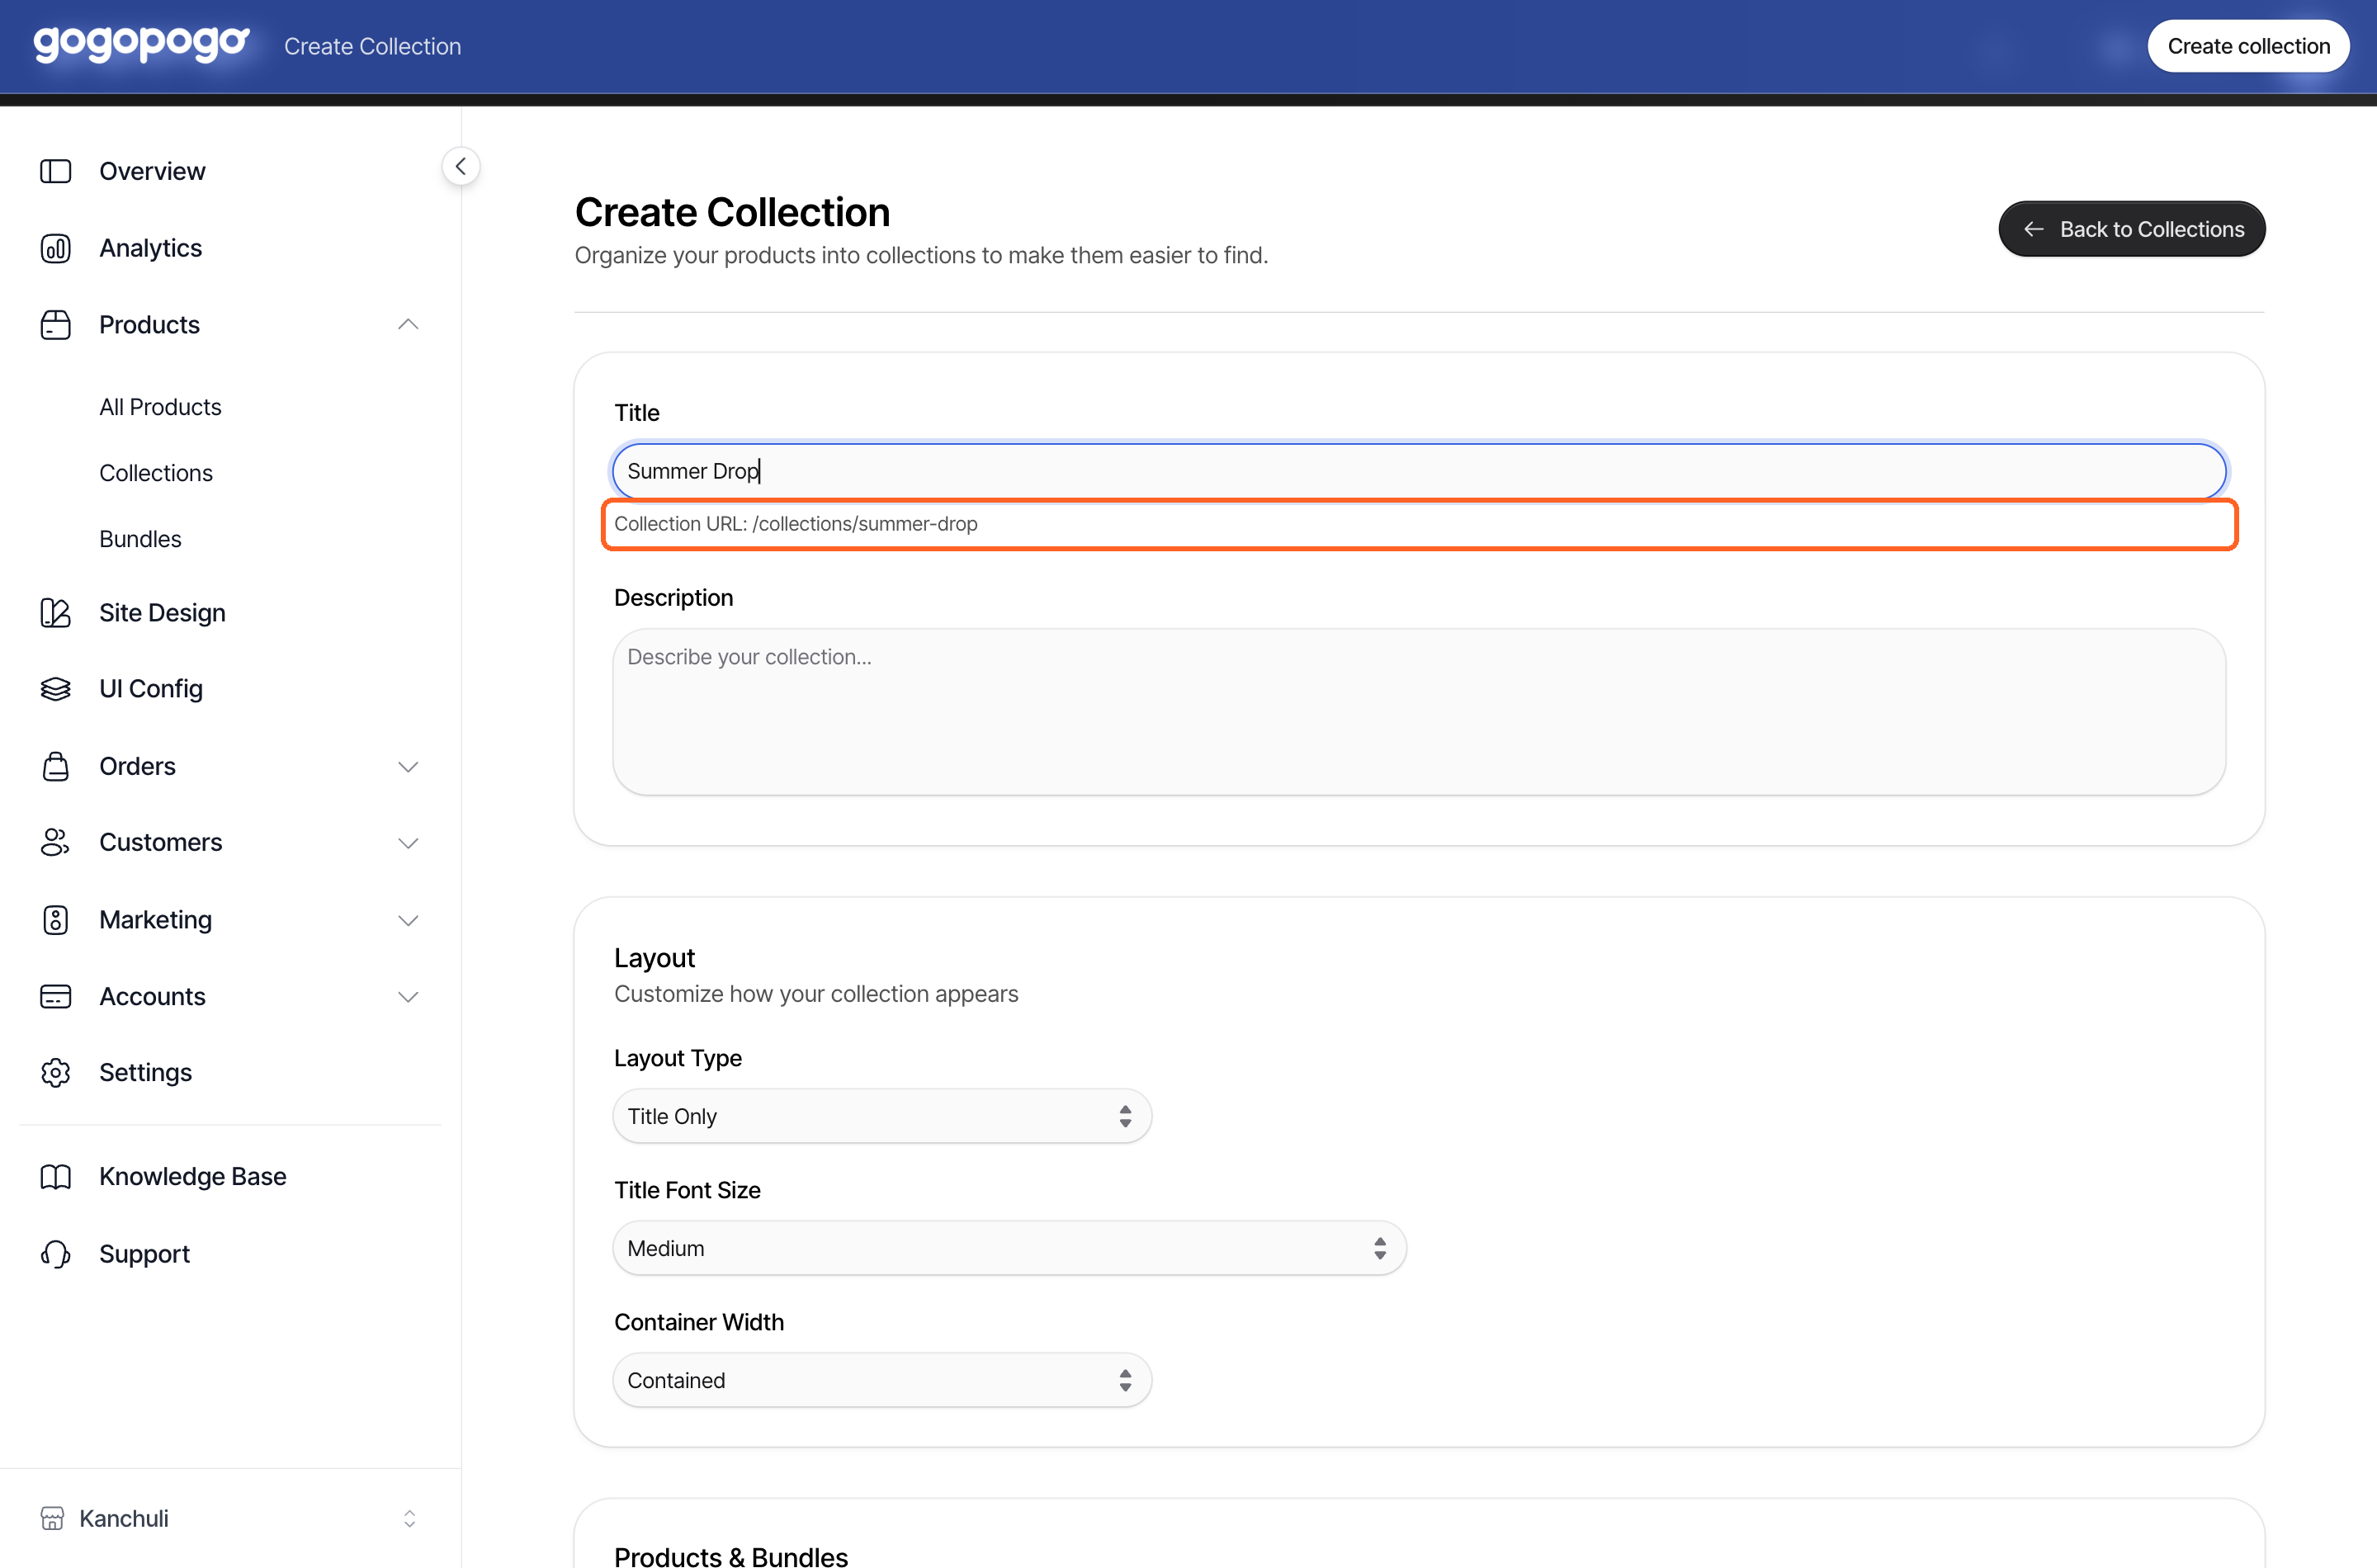
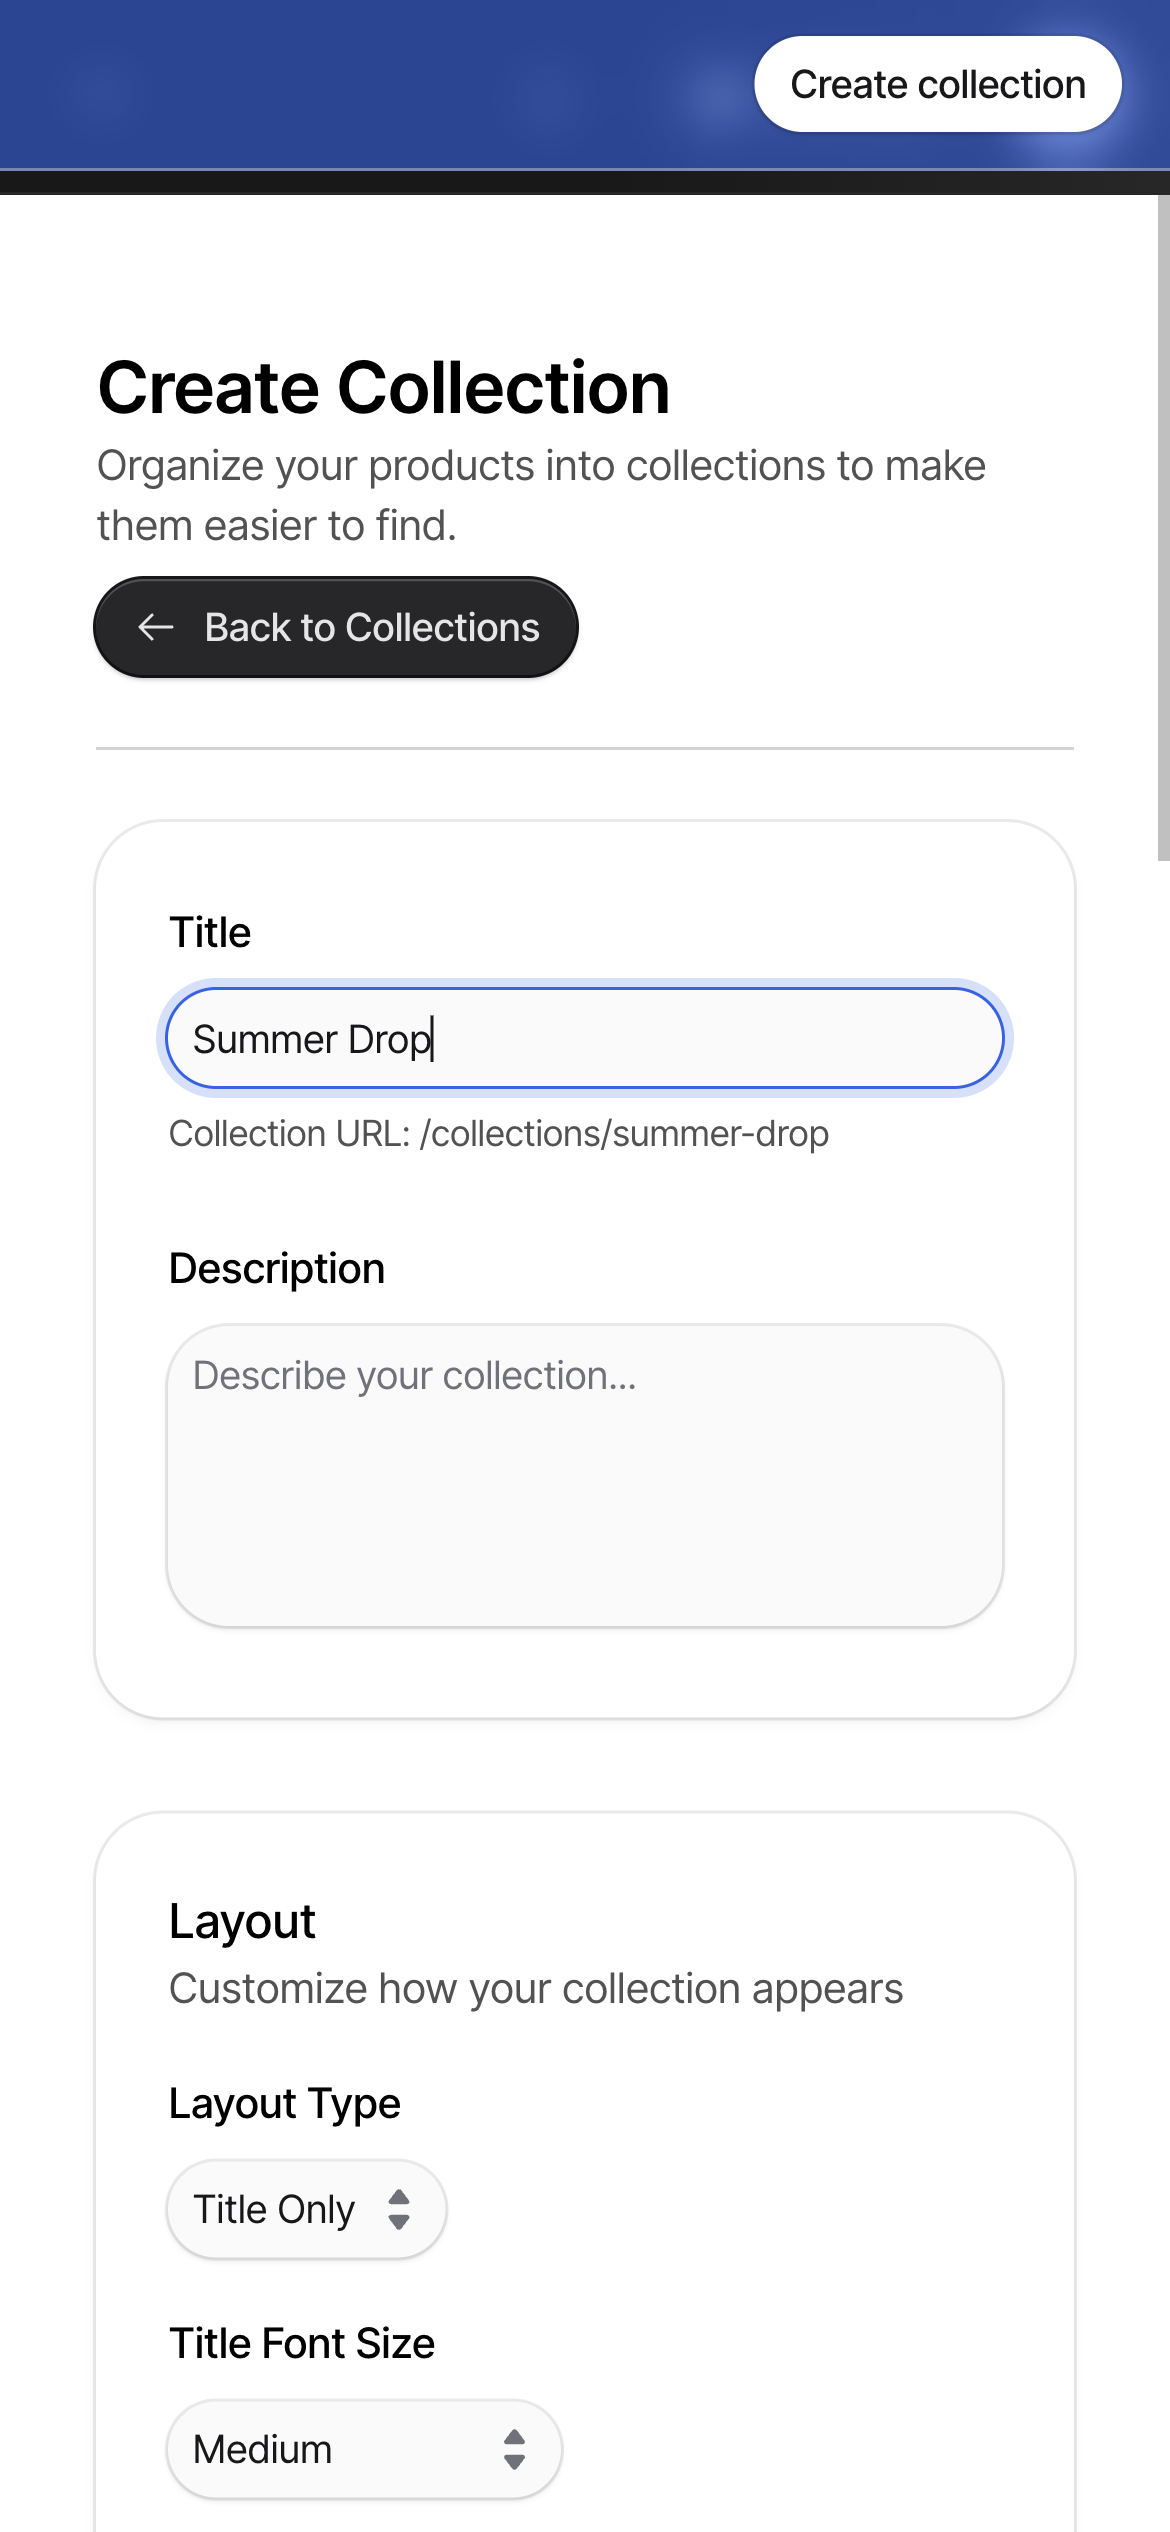
That address — your-store.gogopogo.store/collections/summer-drop — is where customers will find the collection.
Describe it (optional)
Section titled “Describe it (optional)”The Description box is a line or two about the collection. It appears on the collection page only if you choose a layout that shows it — that is the next step.
Choose a layout
Section titled “Choose a layout”Layout Type decides what sits at the top of the collection page:
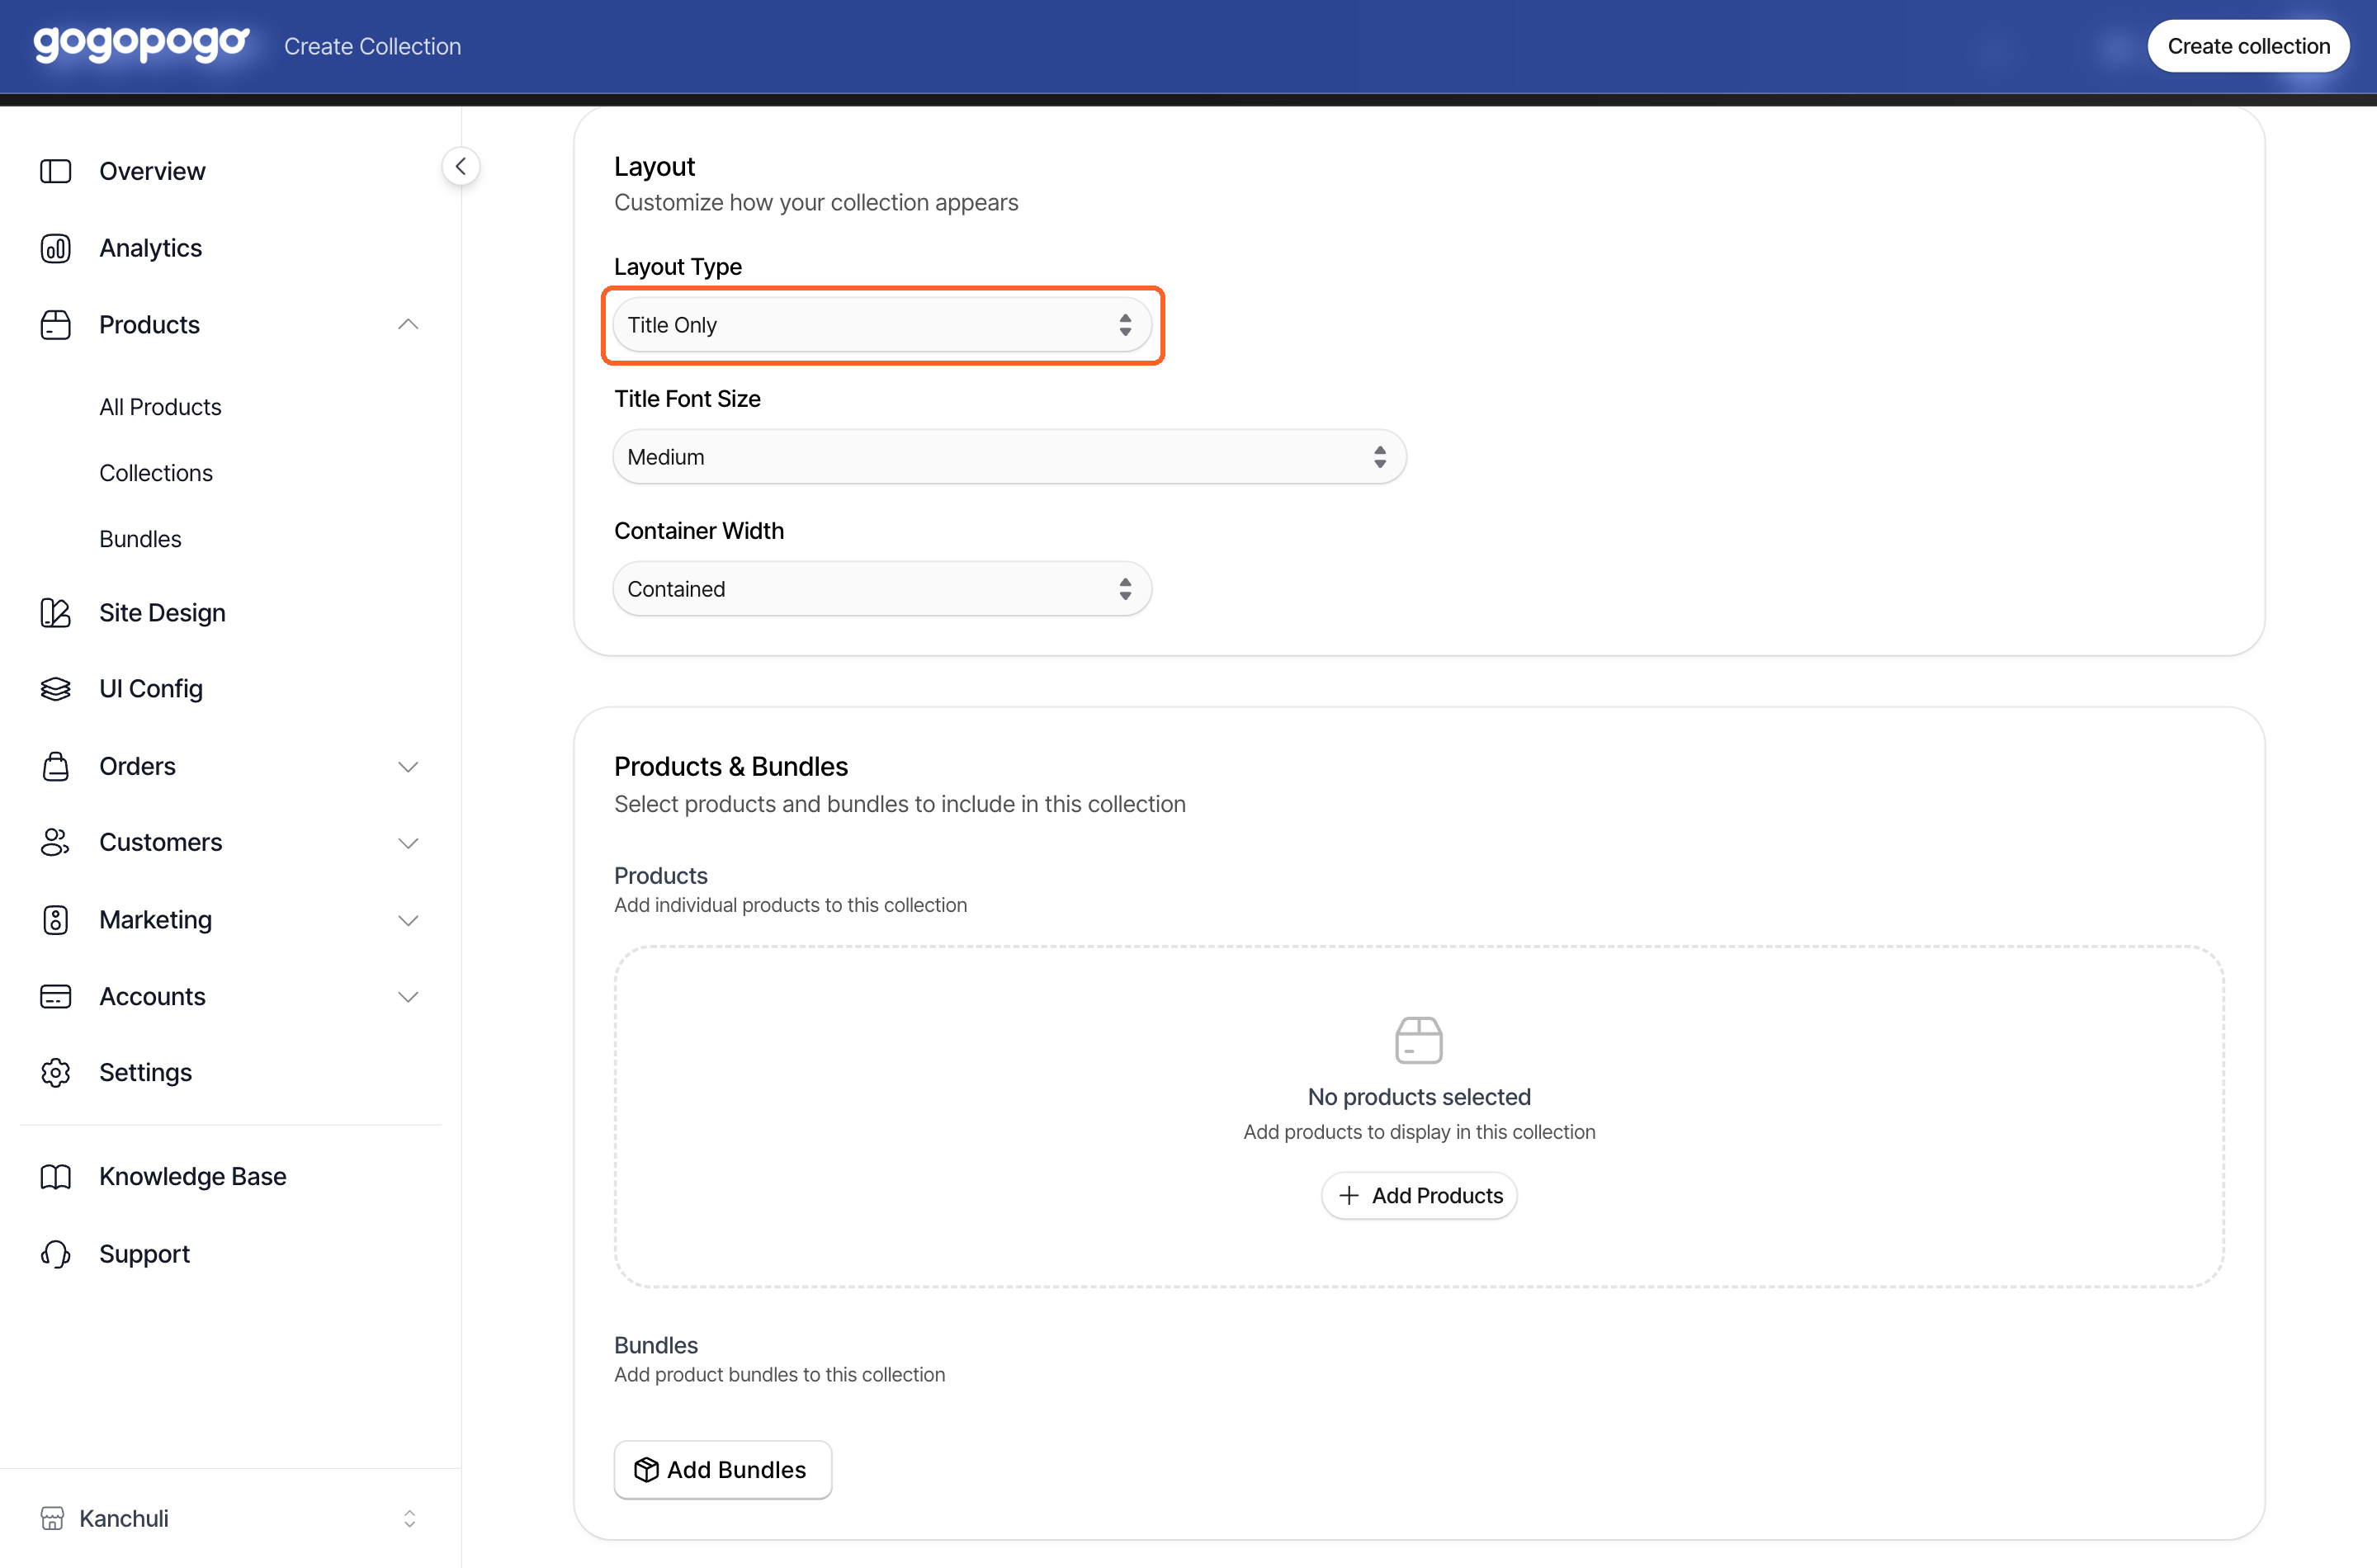
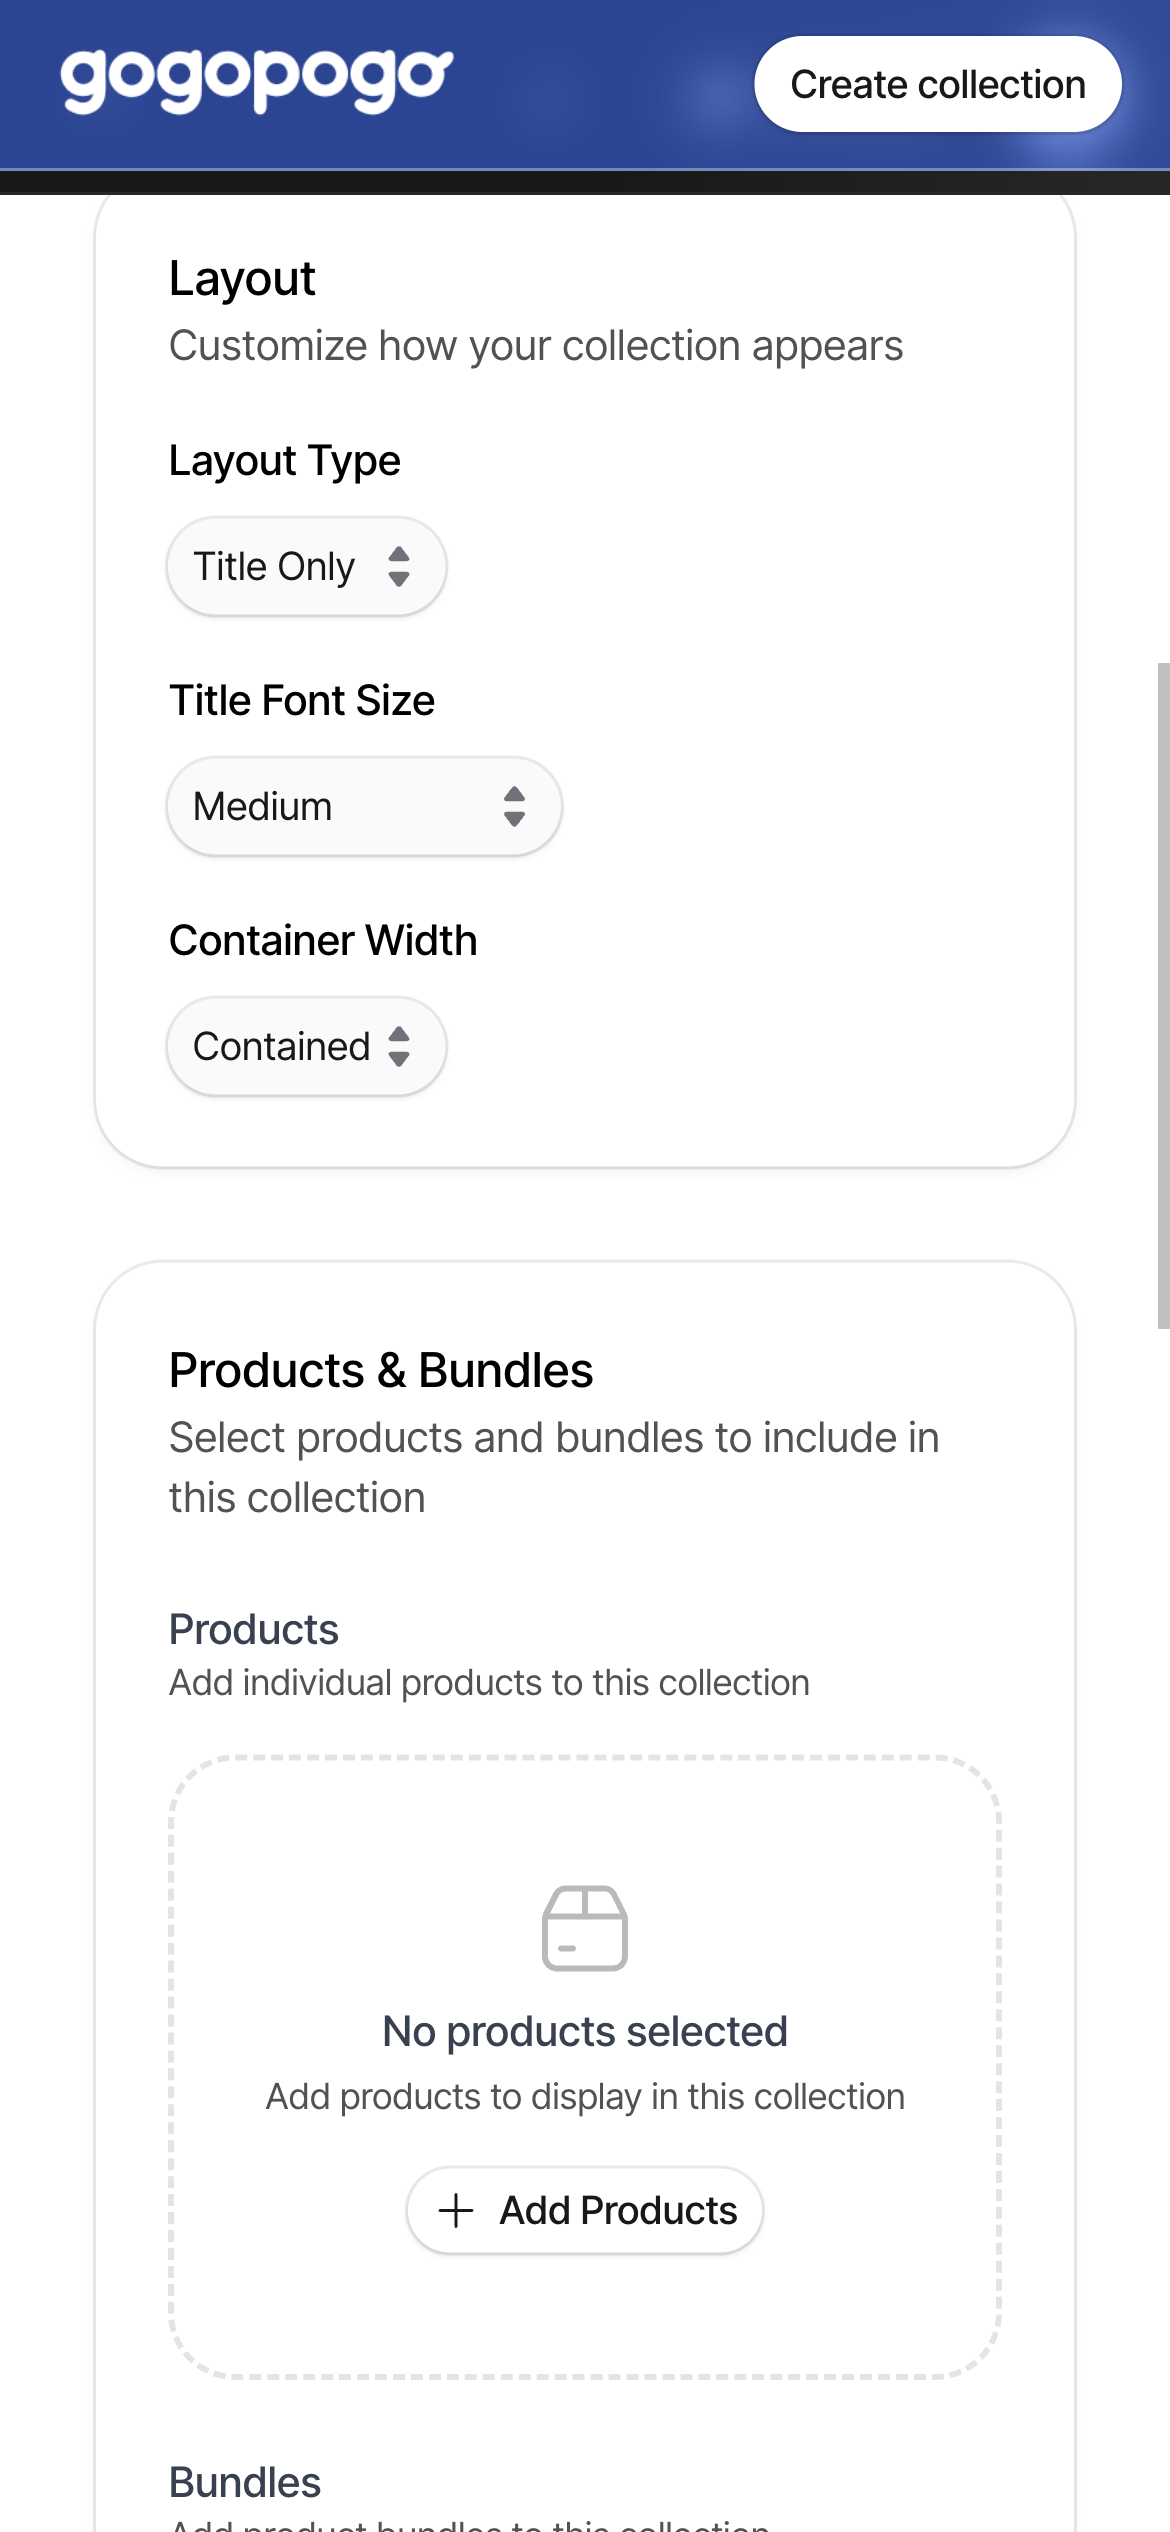
| Layout Type | What the top of the page shows |
|---|---|
| Title Only | Just the collection name |
| Title with Description | The name and your description |
| Title with Cover Image | The name over a cover picture |
| Title and Description with Cover | The name and description over a cover picture |
- Title Font Size and Description Font Size — Small, Medium or Large. Medium is the default and suits most shops.
- Cover Image — only used by the two layouts with a cover. Recommended size is 1920x820 pixels: a picture wider than it is tall. A tall picture gets cropped.
- Container Width — Contained keeps the page inside your shop’s usual width. Full Width stretches it to the edges of the screen.
Add the products
Section titled “Add the products”Under Products & Bundles, click Add Products.
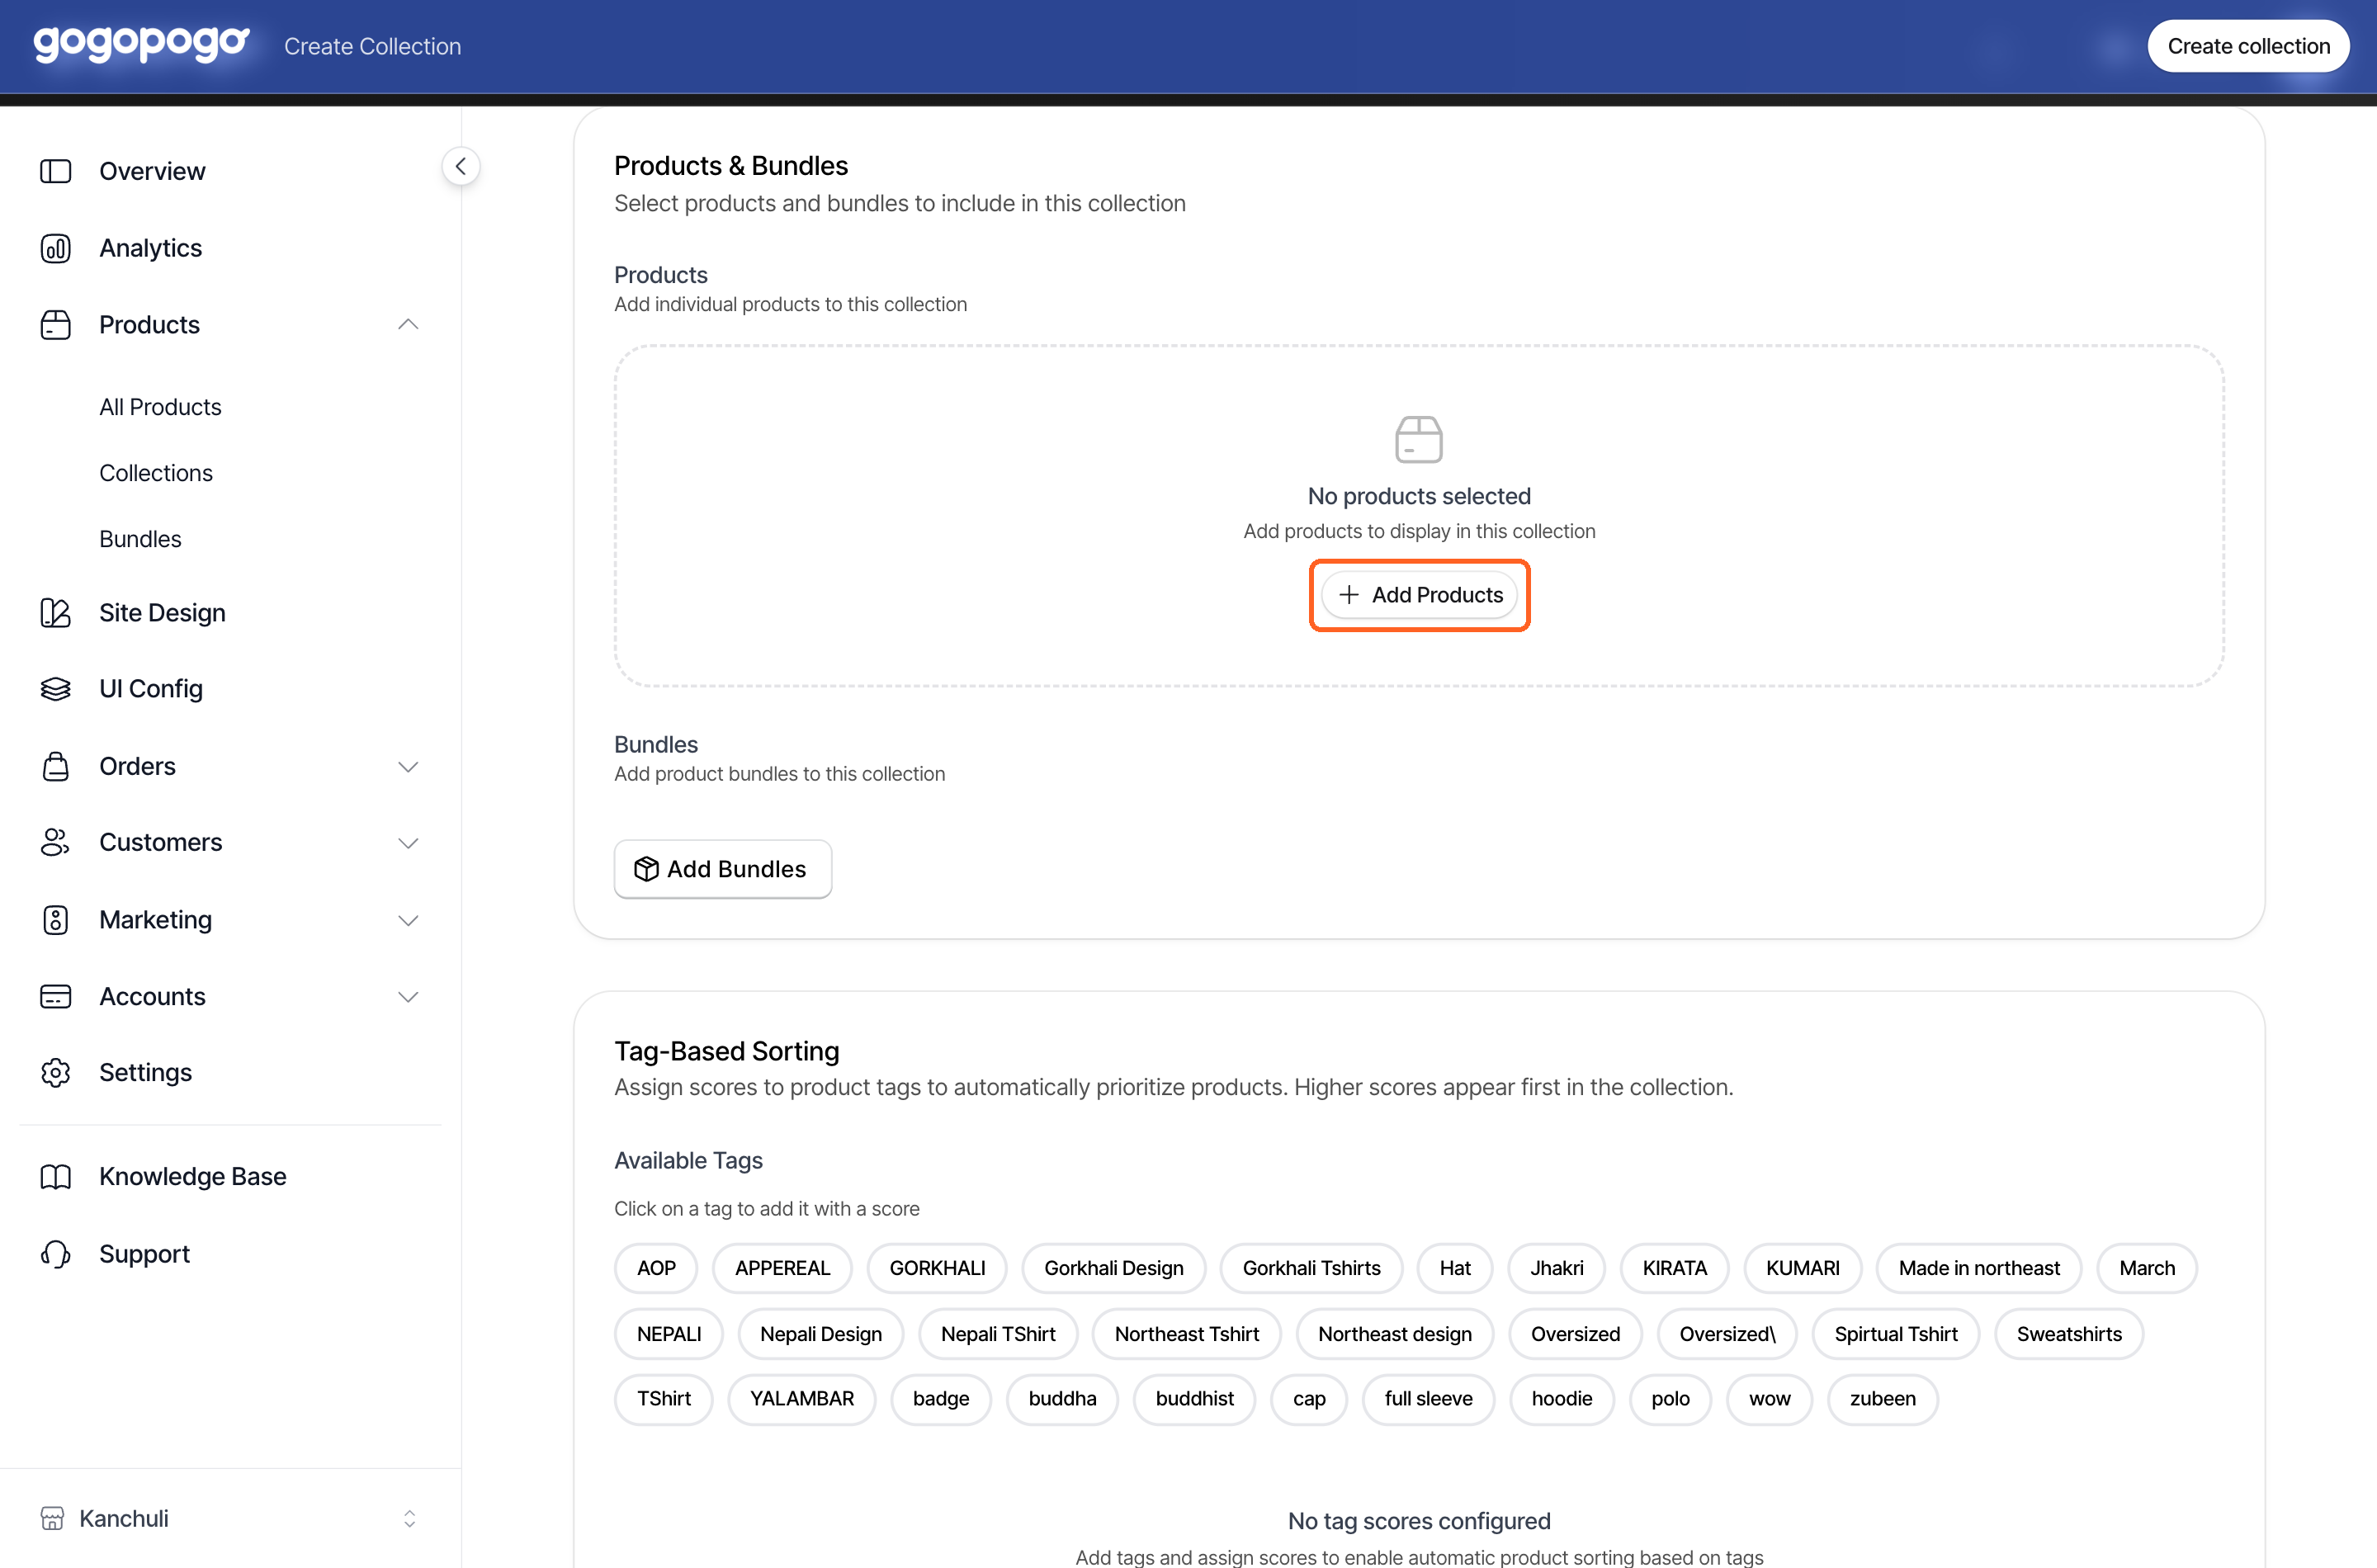
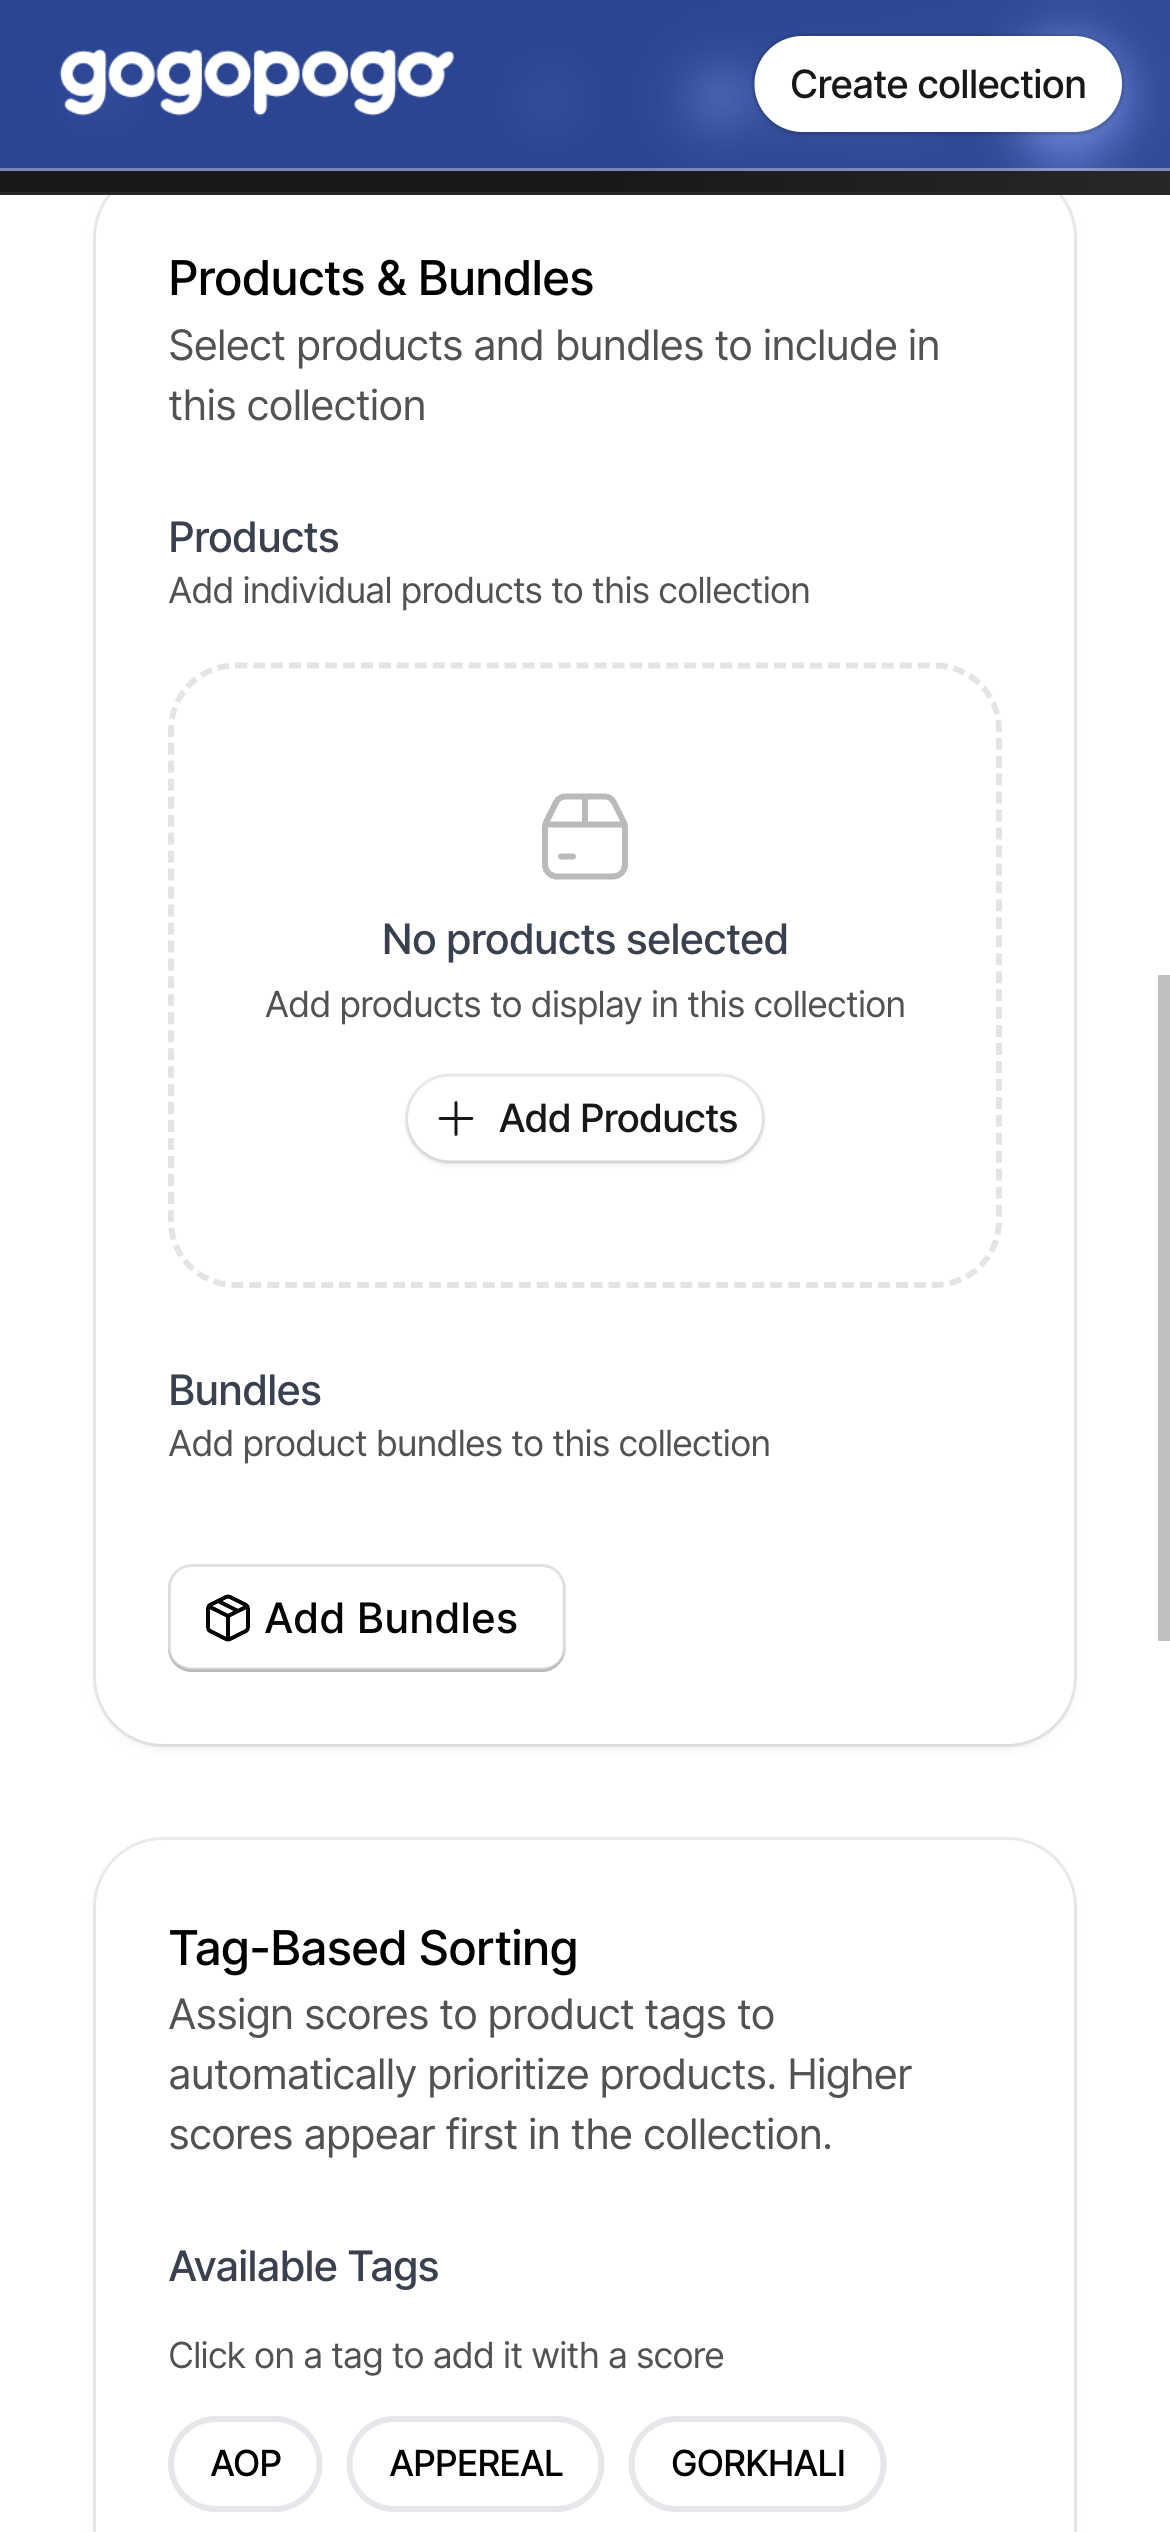
The Select Products window opens. Search for a product, tick what you want, then click Done.
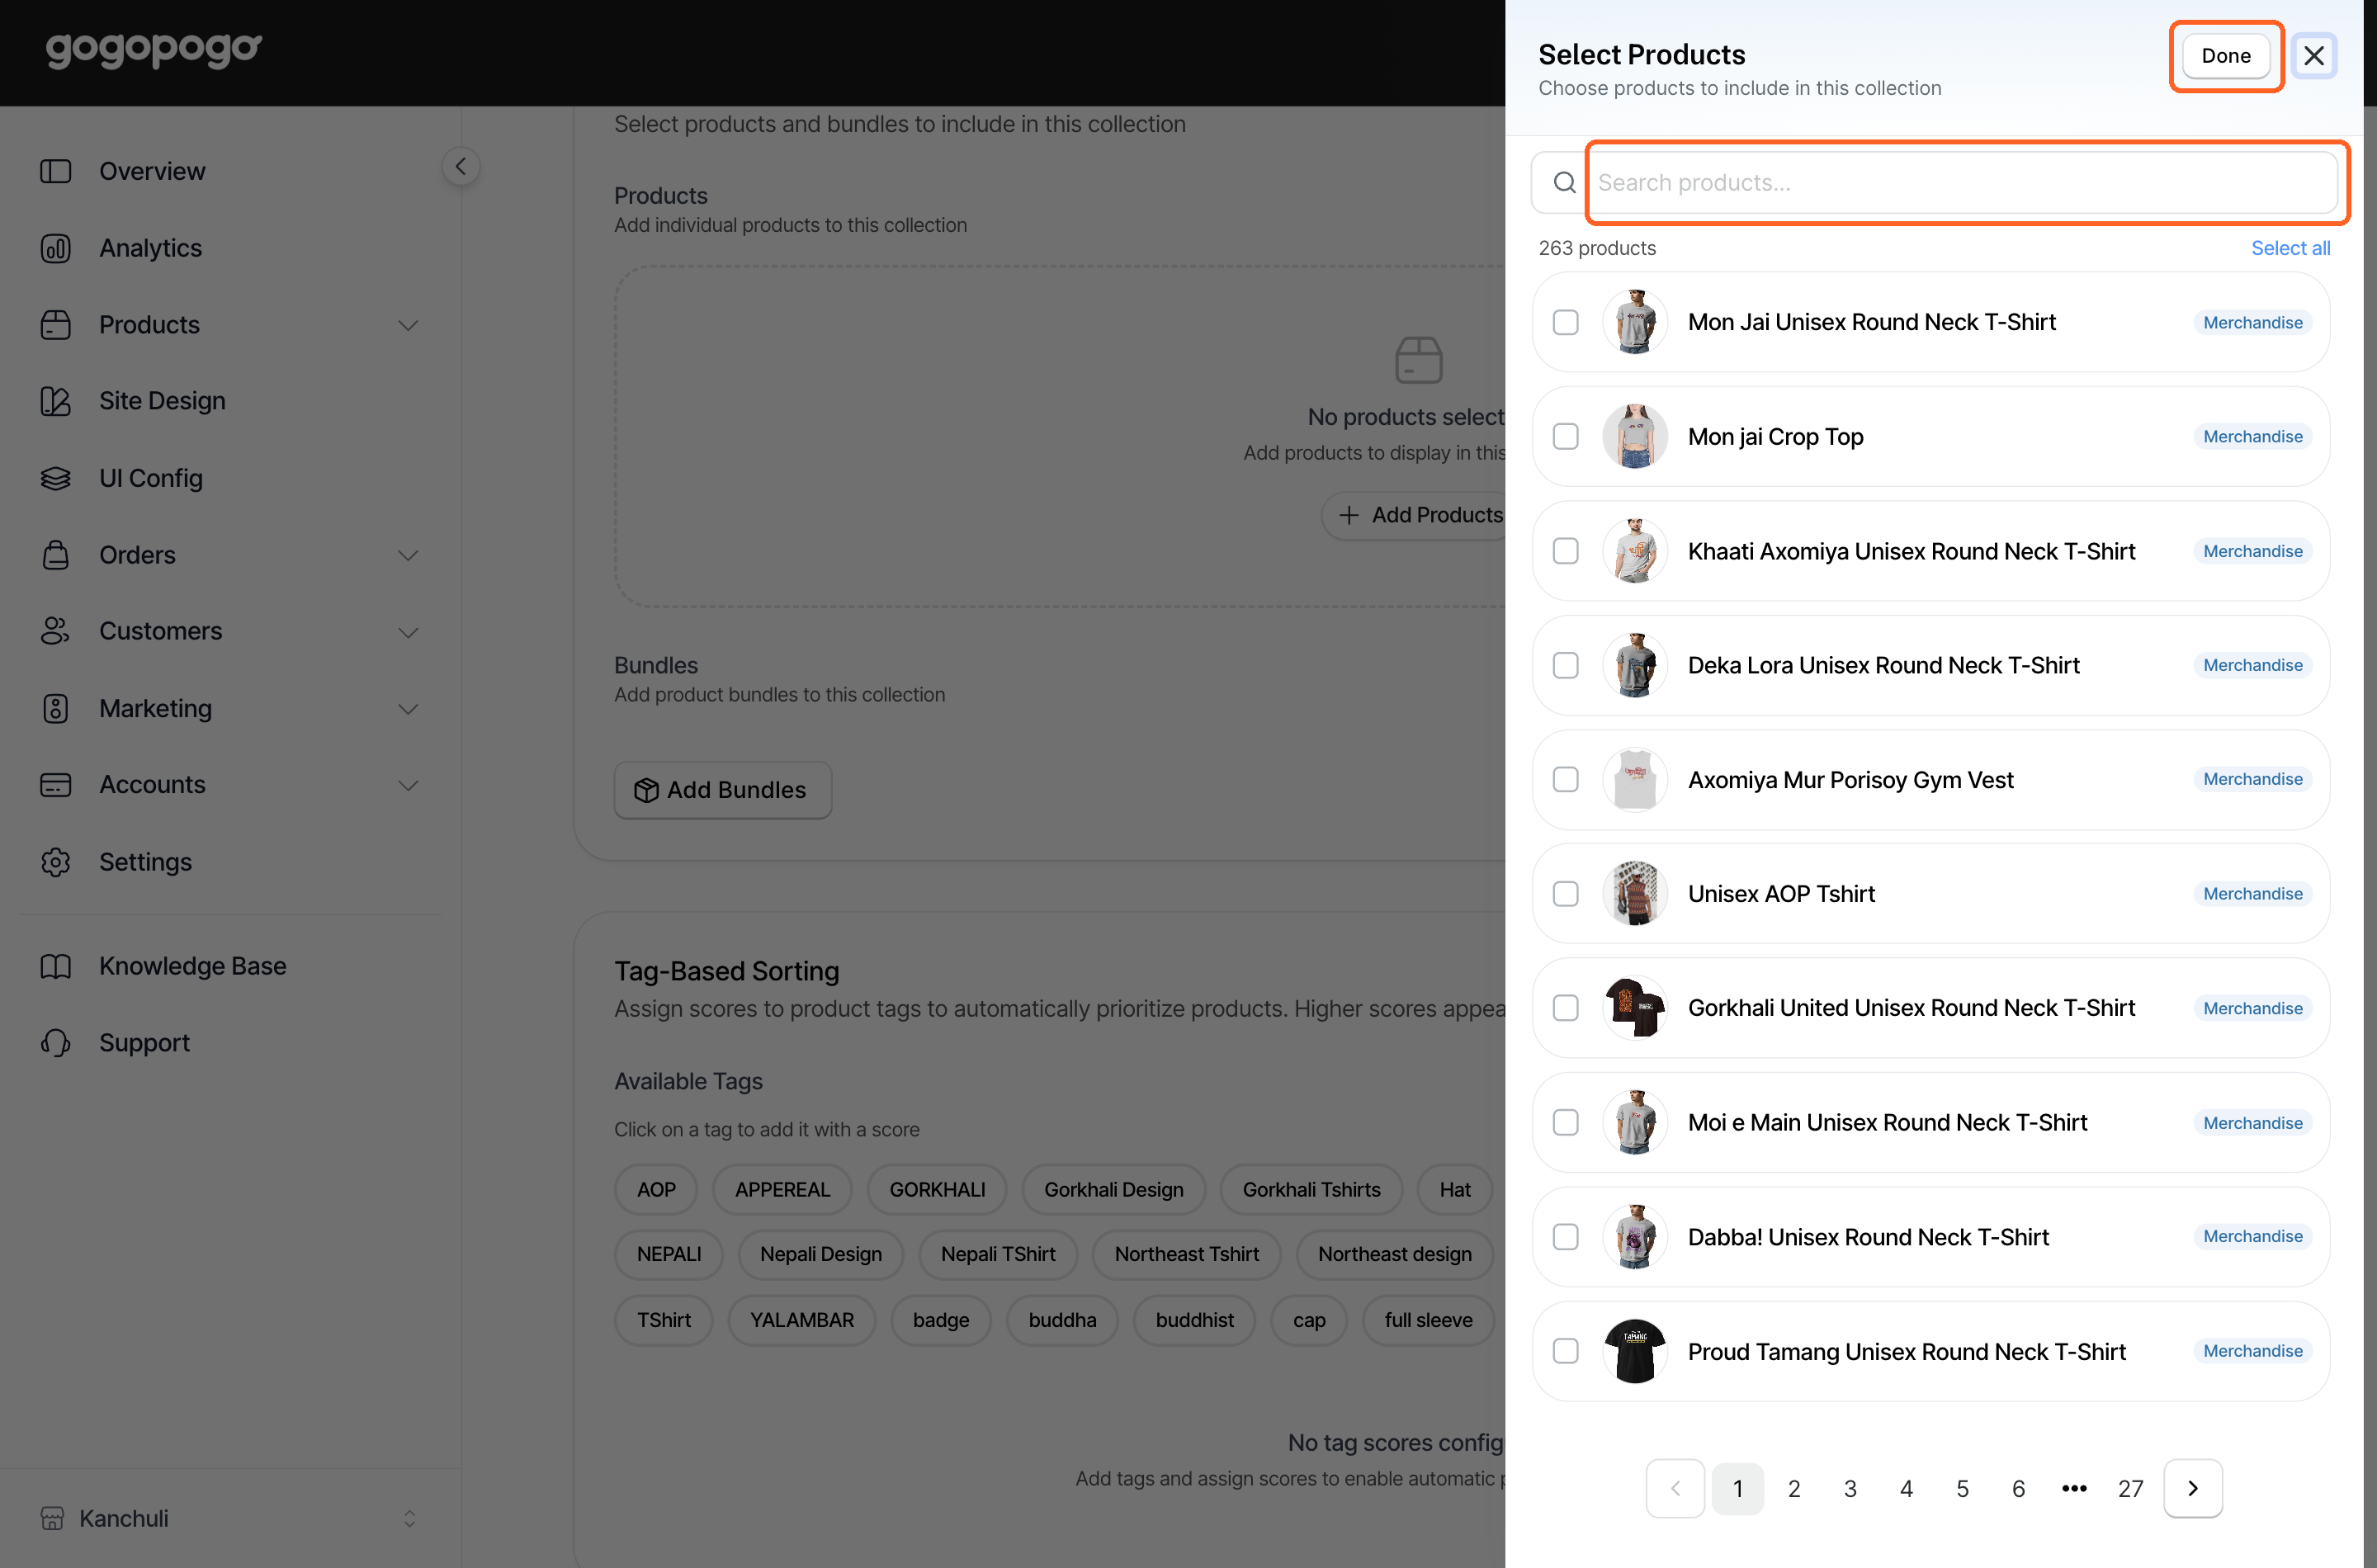
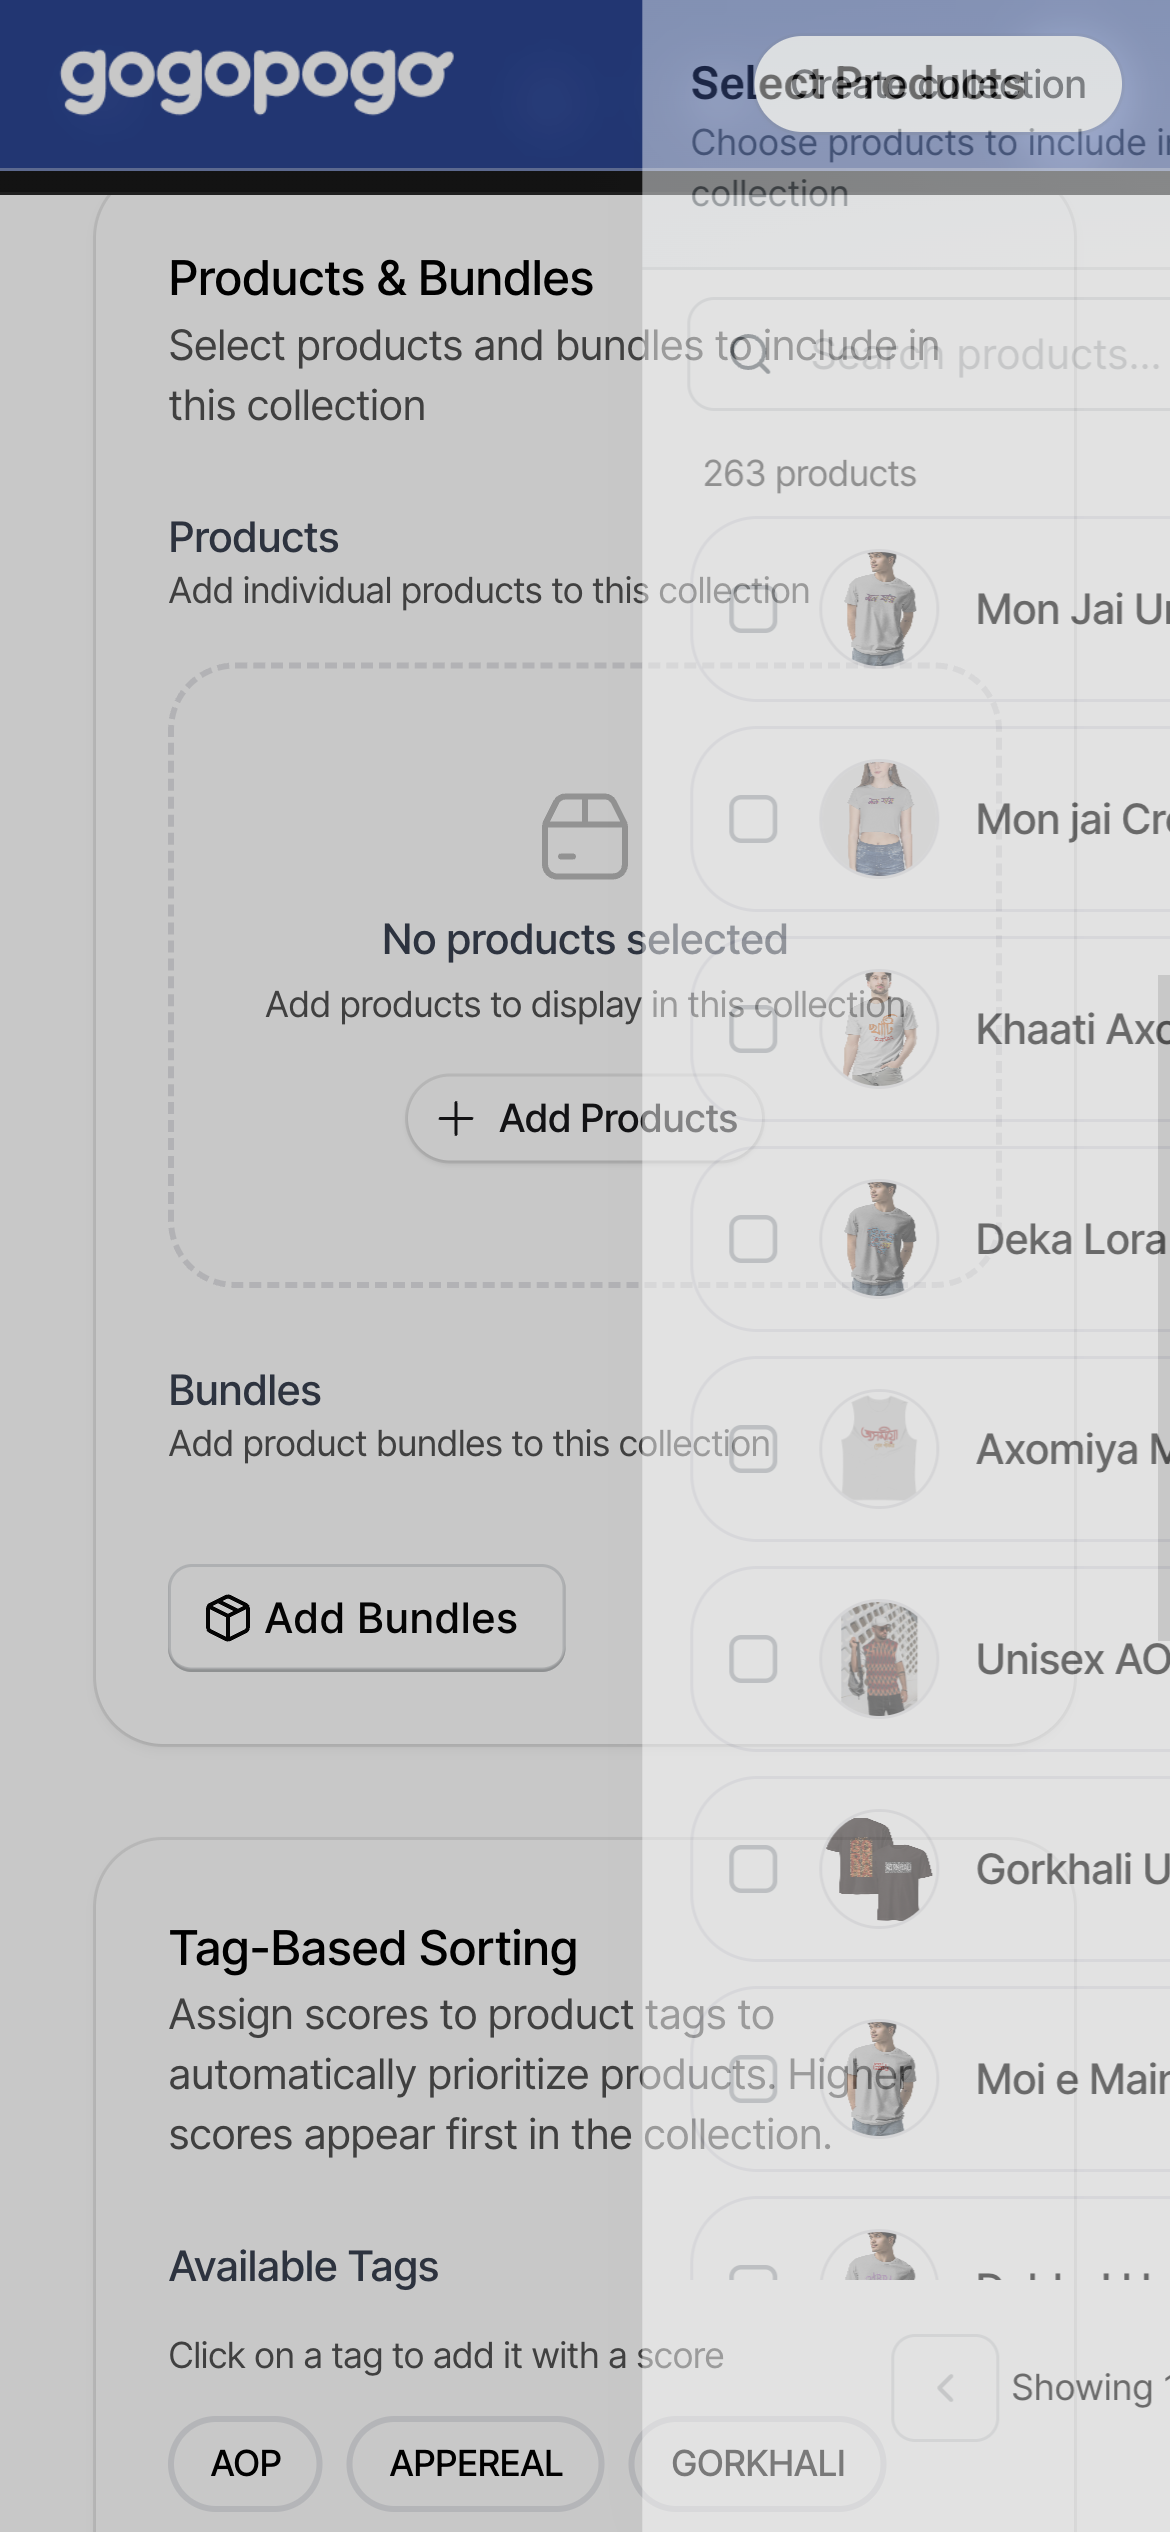
Your picks appear as tiles. To take one out, hover over its tile and click the ×.
Bundles work the same way: click Add Bundles, tick, then Done.
None of this changes the products themselves. Putting a product in a collection does not change its price or its own page — it only adds it to this group.
Optional: sort by tags
Section titled “Optional: sort by tags”Tag-Based Sorting gives a score to each tag on your products. Click a tag to add it (it starts at 50), then type a higher number to push those products towards the top of the collection. The higher the score, the earlier the product appears.
If you do not use tags, leave this section alone.
What Google shows (optional)
Section titled “What Google shows (optional)”SEO Title is the title Google shows for this page in search results. SEO Description is the line under it. Leave both empty and Google uses your collection title and description instead.
Save it
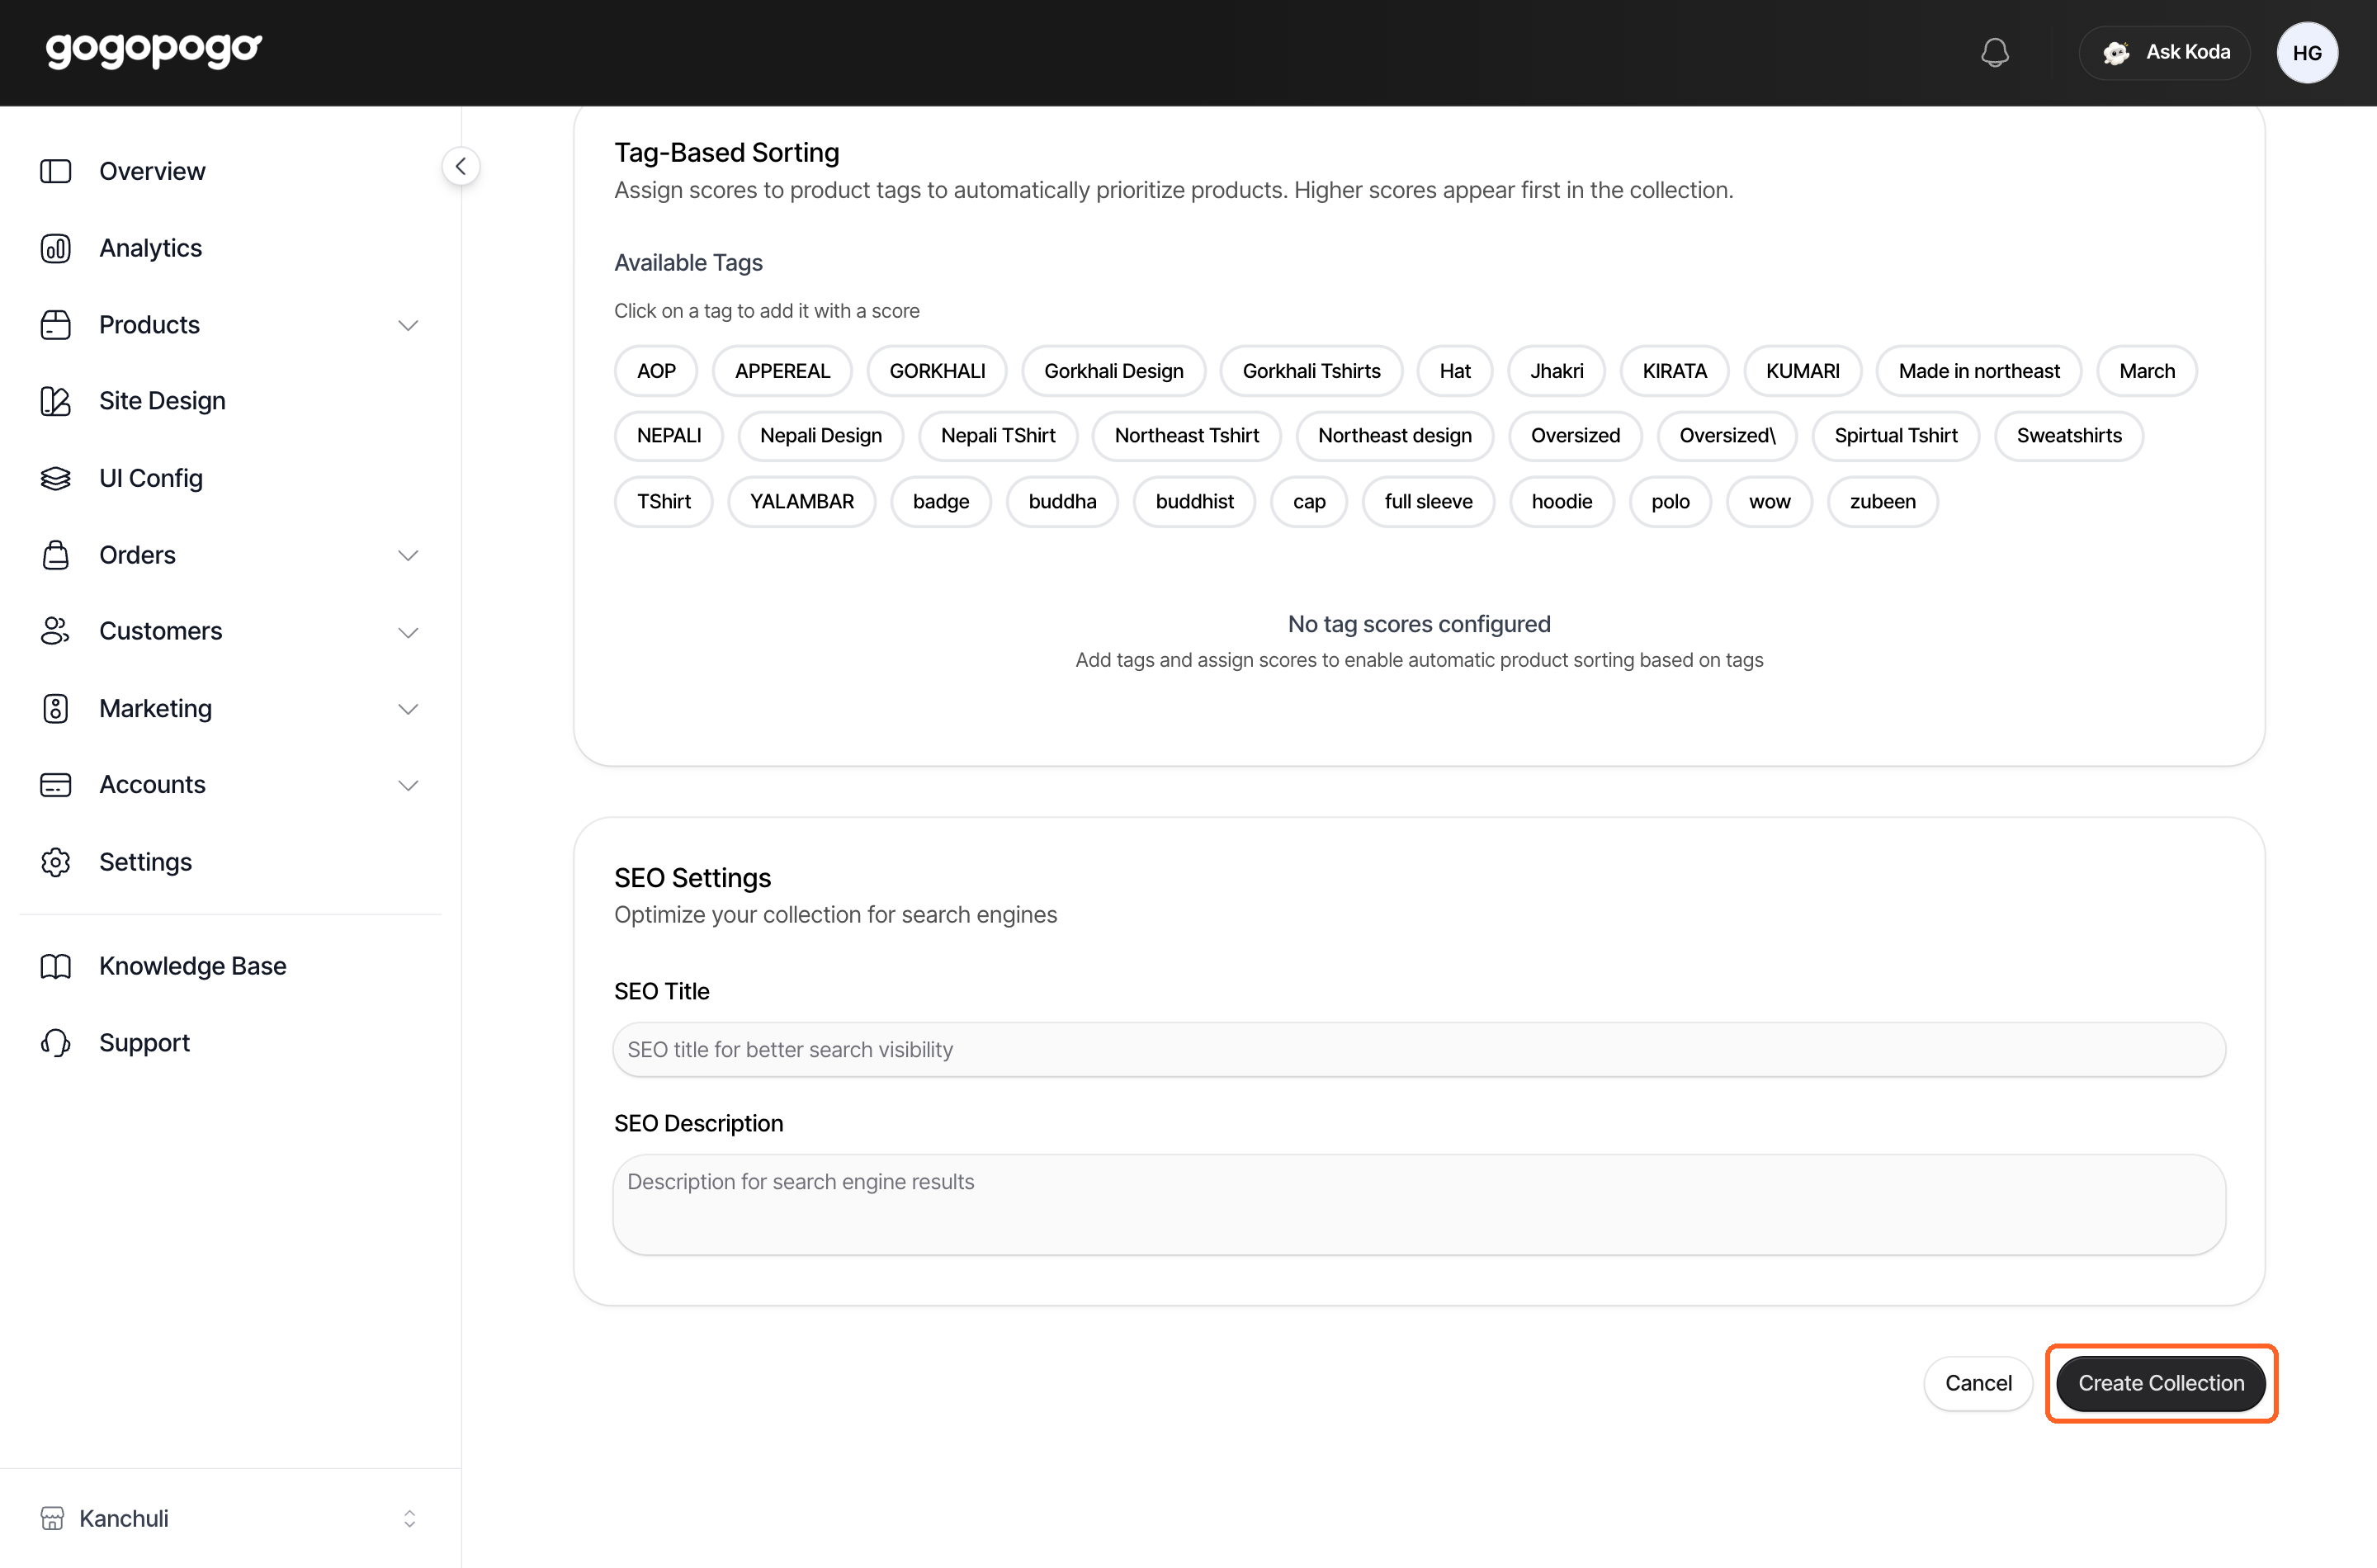
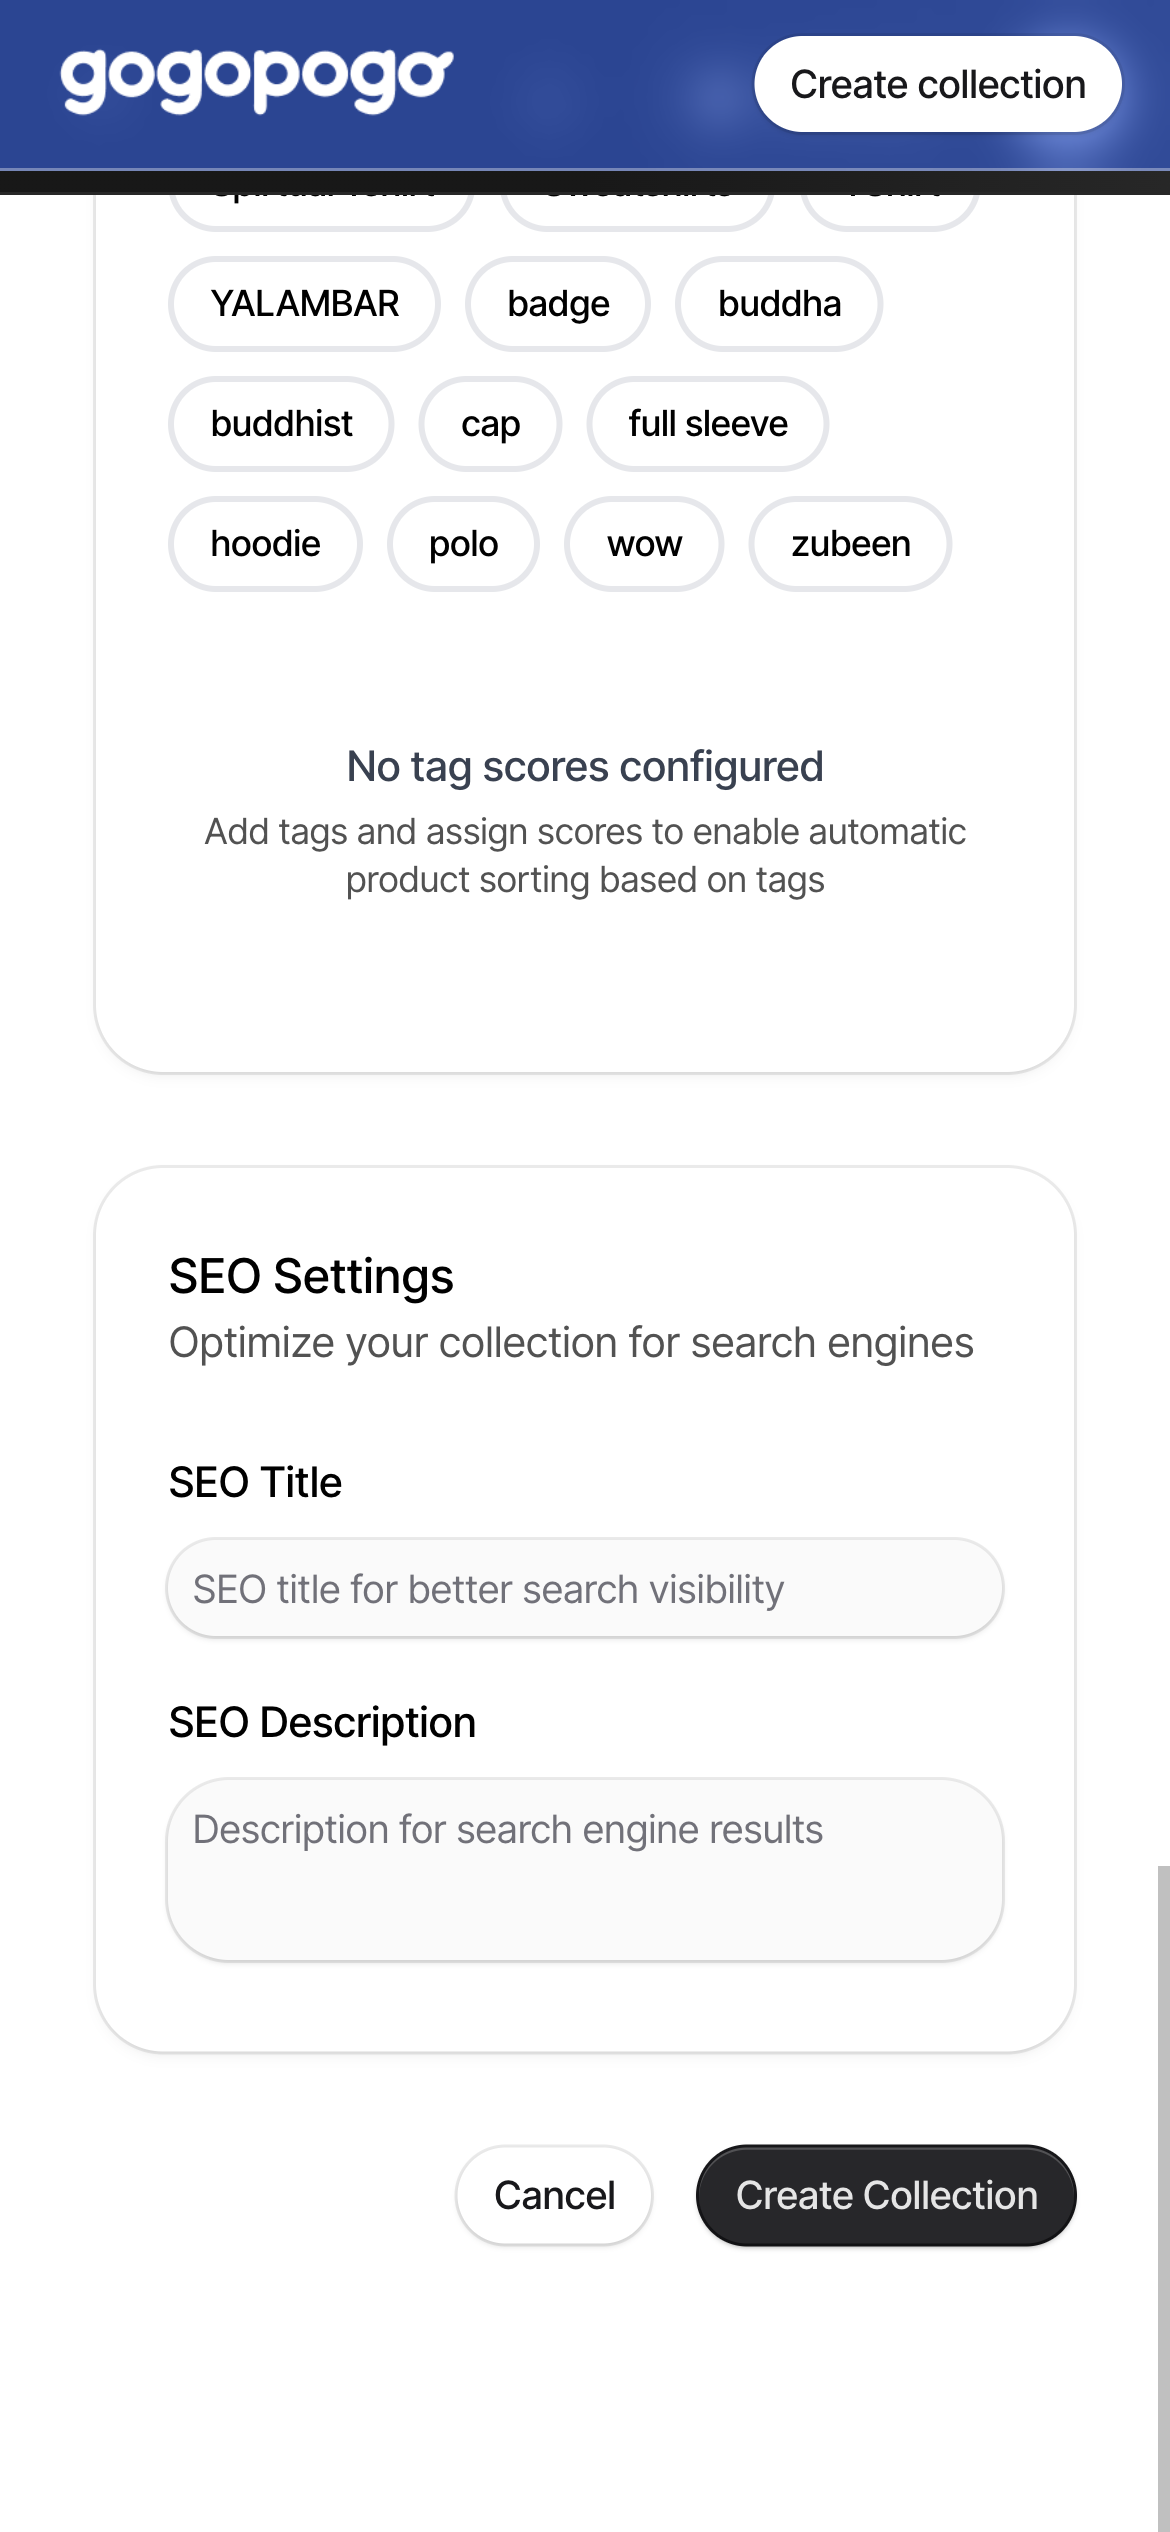
Section titled “Save it”Click Create Collection at the bottom of the page. A Create collection button also appears in the bar at the top as soon as you change anything — either one saves.
Put the link where customers can see it
Section titled “Put the link where customers can see it”Nothing on your shop links to a new collection by itself. Customers reach it only through a link you add, for example:
- Your menu: open UI Config → Header, add a menu item, and type
/collections/summer-dropin its address box. - On a page: use the Spotlight Collection section in the page builder to feature it. Design your shop →
Change the web address later
Section titled “Change the web address later”Open the collection and scroll down to Collection URL. It shows the address and a preview link you can click to check the page.
Two collections cannot share the same address. If you type one that is already used, yours is saved with a number on the end.
Delete a collection
Section titled “Delete a collection”Open the collection, click Delete Collection at the bottom, and confirm.
Your products are not deleted. They stay in your shop exactly as they are — only the group is removed. Any link you shared to that collection stops working.
Quick checklist
Section titled “Quick checklist”- Title filled in?
- Products picked — and did you click Done in the picker?
- Cover picture wider than it is tall, about 1920x820, if your layout uses one?
- A collection goes live the moment you save it. Are the products and prices right?
- Added the link to your menu or a page, so customers can actually find it?
- Web address left alone if you have already shared the link?
Who can access this
Section titled “Who can access this”Can access: Owner Editor SubAdmin
Cannot access: Staff